Friday, 19 March 2021

Thank You Coffee


Welcome to the Coffee Lovers Hop!

If you are new to the hop, like me, all you have to do is play along by creating any coffee-themed project, post it on your blog and then link it up at the linky found on the Coffee Loving Cardmakers blog where you will also find details of all the sponsors providing the fabulous prizes!


STAMPlorations is one of the super sponsor of the Coffee Lovers Hop, find Shery's post here where she also has additional prizes to give and if you haven't got any coffee themed stamp, STAMPLorations has made a free image available to use in your entry!

It was high time I joined the hop since I am very much a fan of the strong stuff... yes don't make mine white or too sweet! Espresso rules!


I love that image from STAMPlorations, Thank You Coffee and I think it is one that lends itself well to pencil colouring. I used metallic pencils on black card in this one I did last year and was wowed by the results.

Here I used a more natural colour scheme on more subtle Kraft cardstock but I still think it's very striking.

I spend a blissful moment refining the 3D look of the cup and I could have carried on...

Once finished I added the sentiment from the same set stamping in brown ink and embossing with clear holographic powder. Lovely shine...

I couldn't bring myself to add anything else, not even matting or rounding corners as I felt it would distract from this delicate cup and flower. 

Over to you... time to create some Coffee inspired art and don't forget to check the STAMPloration blog!

Thanks for coming by,
I am entering the Addicted to stampsCaffeine Fueled Paper Play
 
and Paperbabe challenges.
Monday, 15 March 2021

18 years young

Pity the poor kids coming of age during this Covid crisis! No "legal" pint of beer at the pub, as is tradition in the UK, and no celebrations with friends and family either...

Despite age being just a number this number is important, and so appropriate for as my 2nd inspiration make for our STAMPlorations Theme & Photo Prompt challenge!

The Theme and Photo are:


Taking inspiration from both theme and colours from the photo, I made a card for an 18th Birthday.


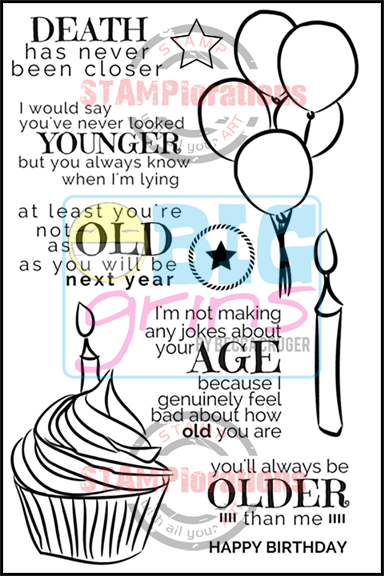
I first stamped the cake from the A Snarky Birthday to You set and the sentiment on my vanilla colour cardstock before inking the background.  I added acrylic paint to the icing and candle.

I die-cut a circle from the card to make the ink application easier and then added all my number "masks", which are stickers (make sure to not press them for removal later...) and a rectangle for the sentiment. Then using a brush I applied my ink (I am currently testing the Lavinia inks, so far so good)  to make the masked shapes pop out.

The STAMP girls are showing inspiration for all the challenges on the STAMPlorations blog so pop by to see them all and do join the challenge for a chance to win!

***
Whenever you shop for STAMPlorations products you can get 20% off with my code: STAMPGIRLCRAFTY


***

Thanks for coming by,
I am entering the Allsorts challenge.
 

Thursday, 11 March 2021

Small silhouette

Today I have a second piece of inspiration for our Country View Challenge where the theme is Silhouettes hosted by Rachel


Recently I have been looking at my scrap stash and resolved to use more of it in a "Use it or lose it" objective to get things back into control. I'm running out of space....

I picked up a piece of photo paper I had used with Distress Oxides, thinking that it might be a good foil to a black silhouette, and so it proved. 
I simply stamped the Lost Coast Umbrella Woman with black ink and die-cut the panel using the Basic A2 Panels Nesting Dies (STAMPlorations). 

If you are new to die-cutting, note that I first cut with scissors the portion of the bag that would have been lost and placed the die under that portion as per the photo:

I added a sentiment from the Born to Roam set (STAMPlorations)  and matted the whole on black cardstock.

I might use this as a card topper, a bookmark, or as part of a quadtych, another UFO project of mine...

I hope I have inspired you to join our Country View Challenge blog, don't forget that there is a £20 voucher for the Country View Craft shop to be won if you do! 
 
Thanks for coming by,
I am entering the Lost Coast Designs challenge. 


Sunday, 7 March 2021

The Meerkats family album


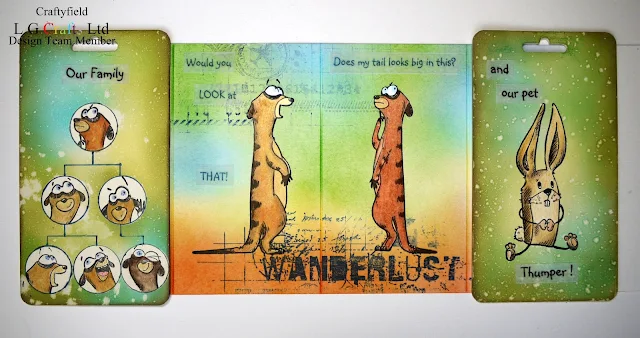
Rounding up my posts after the Katzelkraft show on Hochanda the previous week, my last project is a mini album made from a piece of cardstock folded in accordion with greyboard covers.  I kept my favourite project for last... Don't you love it when things actually work out as planned? It doesn't happen often for me, but this time my vision and execution went without a hitch and I am pleased with the result.

It's fairly simple to make but does take a bit of time, mainly in the colouring and fussy cutting!

Inside pages:

I cut a piece of cardstock to be at least 4 times the width of my chosen covers from the That's Crafty! Surfaces Greyboard #5 Tags Pack and scored 4 times, leaving the excess to be cut later as it helps to hold the cardstock while working. 
I applied Distress inks all over, stamped with water and with blue ink on top using the StudioLight Grunge Collection Clear Stamp - 337
I stamped all the Meerkats (Katzelkraft Suricates KTZ216) on these panels and also on a separate piece of smooth cardstock to be coloured (I used coloured pencils) and fussy cut.

The fun Meerkats' expressions immediately suggested some words to me... I printed them on vellum and backed it with adhesive sheet. Vellum hates wet glue and unless the the adhesive is edge to edge it shows.

I did the same on the reverse of the cardstock but only on the 2 middle panels as the outside panels will be glued the covers:

Covers:
I prepared the greyboard tags with Gesso first and applied Distress inks on top. Some water splatters add a bit of interest.

To the back cover I added the Bunny (mini 114) , which I simply stamped directly on the board and coloured with pencils.

For the front cover I first created masks with circles, keeping both "innies" and "outies", as both come into play.

With removable adhesive I affixed the circles before inking the background. When all splatters had dried I removed the circles and placed the "outies", traced the outline with a pen and stamped the heads inside the white circles. Again, I used pencils to colour the Meerkats.

Finally I folded and creased the pages in the accordion shape and stuck first and last pages to the covers.

As the accordion won't lay flat I added a humble rubber band to keep it closed when not on view. A fancy elastic of some sort would have been better but sadly, it's rarer than hens' teeth since makers of face masks have bought all of the stock!

Some photos of the opened book after assembly:


You can catch up the Hochanda shows here and here and you can also find the Katzelkraft stamps at That's Crafty.

And if you want another look at all my samples for the shows (or even a first look) here's a quick slide show: 

Thanks for coming by,
I am entering the We Love Chocolate Baroque challenge (I love stamping and I love when it all works out!).

Monday, 1 March 2021

The Exception

Welcome to a new STAMPlorations Theme and Photo Prompt challenge!

The theme and photo prompt are:


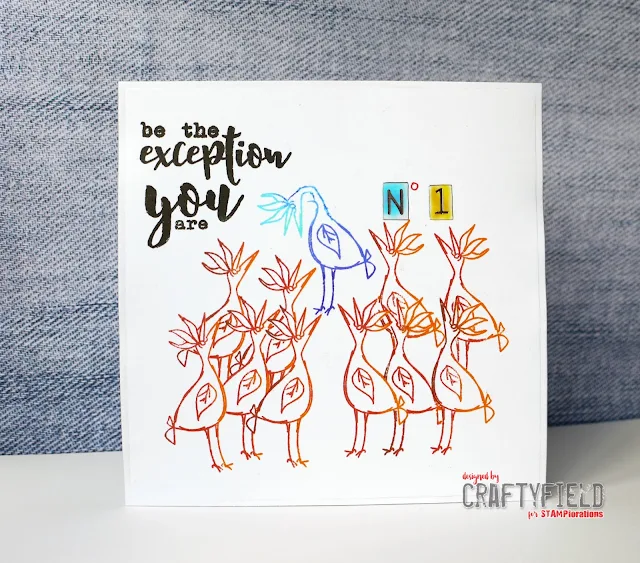
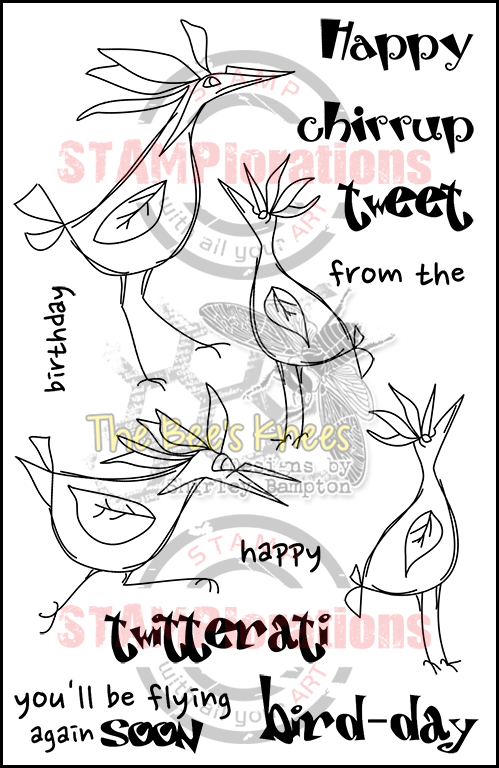
Today for my STAMPlorations challenge inspiration make, I called on the Birds of Paradise again to make this almost CAS card. 
I stamped the birds multiple times using hand-cut masks to create the crowd of orangey birds, stamped the last bird in 2 parts, flexing the neck in a curve and filling in the rest of the line with a toothpick dipped into the inkpad.  I used 2 Kaleidacolor inkpads, one in Autumn Leaves and the other in Blue Breeze.
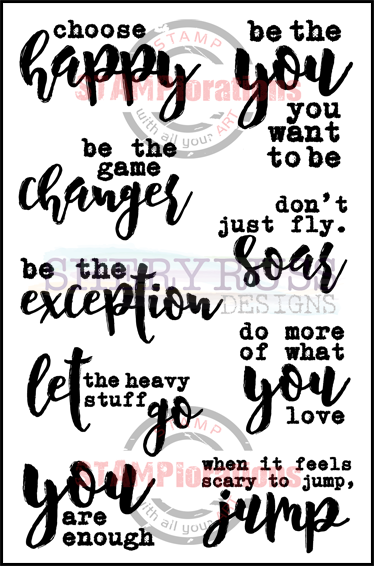
I added the sentiment which is made of 2 of the ones found on the Noteworthy 2 set, skipping the "enough" from the You are enough sentiment. The No 1 is from an old alphabet sheet.
I don't know whether the blue bird is hanging his head in shame at being different or if it's taking a bow at being no 1 but either way it makes me smile... I hope you like it too!

The STAMP girls are showing inspiration for all the challenges on the STAMPlorations blog so pop by and don't forget to link your make for a chance to win.

***
Whenever you shop for STAMPlorations products you can get 20% off with my code: STAMPGIRLCRAFTY


***


Thanks for coming by,
I am entering the challenges.
   

Sparkling silhouette


Still some months of cold weather and rain ahead and it looks like this poor girl got caught in a downpour. Should have stayed indoors it's lockdown here anyway!

I suppose I should mention that Silhouette is the new theme at Country View Challenge, which this month is hosted by Rachel.

The background started as a failed alcohol inks experiment, I thought I would try and save it by using Distress inks through stencils (Tim Holtz Layering Stencil - Mini Stencil Set #39), a much easier technique for control! 

I then stamped my image (Visible Image - Sparkle In The Rain) in black.

Then I stamped the rain... I used Versamark only and embossed with clear powder. To give an impression of the rain falling both in front and in the back of the girl, I inked the stamp partially.


Finally I stamped the sentiment in black and embossed with holographic embossing powder for... sparkles! Closer look at this:


In the end I think that my grungy background works well with the stark black silhouette. What do YOU think?
Have a look at what the DT made on the Country View Challenge blog for more inspiration and link up your project to the challenge for the chance to win a £20 voucher for the Country View Craft shop.


Thanks for coming by,
I am entering the Allsorts, Paperbabe, Stamping Sensations challenges.