Today is the last day of our STAMPlorations 7th Birthday Celebrations

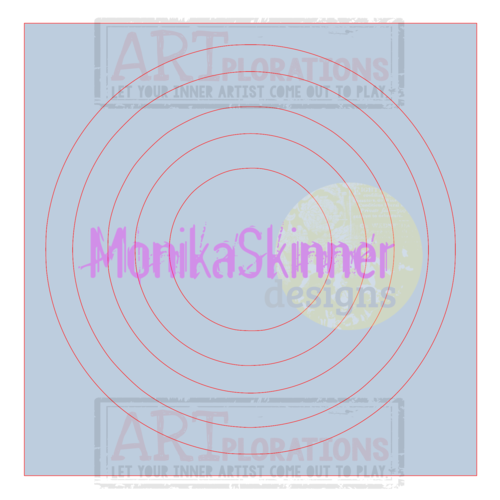
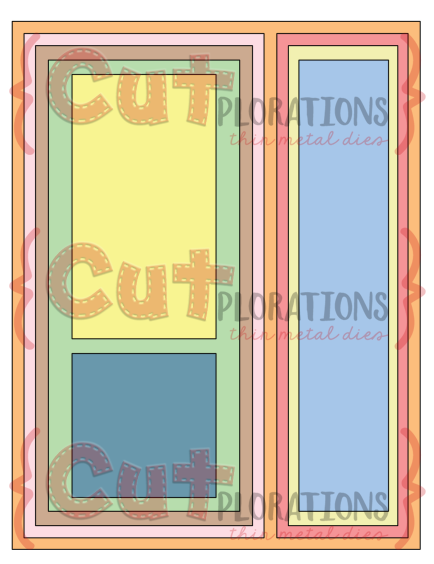
I wanted to use the newly released Circles Flexi-Template and couldn't get this picture of a target out of my mind. With Thanksgiving around the corner I thought of these poor birds being lined up for dinner...
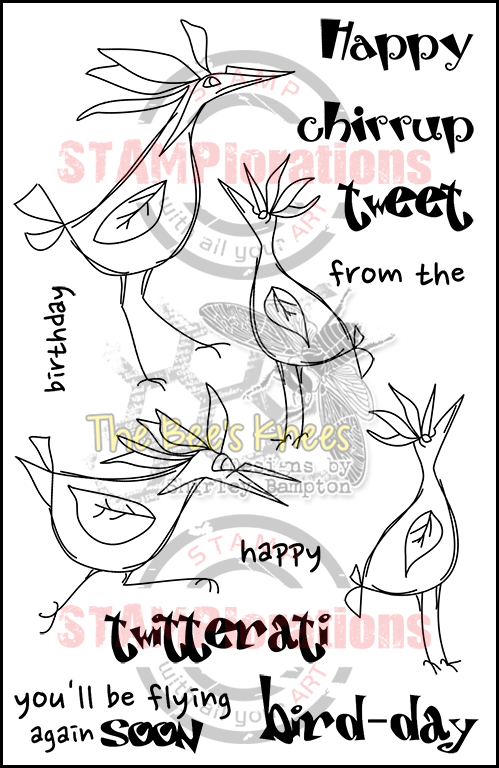
And, if you are follower of my blog, you will have noticed I love my Birds of Paradise, which I find so easy to place in humorous situations. (check this one out, it still makes me smile!)


To make it easy for myself I sprayed the back of the templates with temporary adhesive and pieces of washi tape on the front to keep them together for placement.
I first took out the largest ring and used blue ink through the space. I then cleaned the stencil, leaving it in place and replaced the circle on top of the blue ink.


Again I cleaned the stencil before replacing the ring and inking through the last circle with blue.
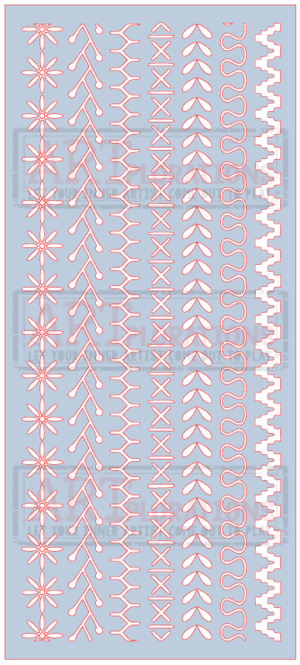
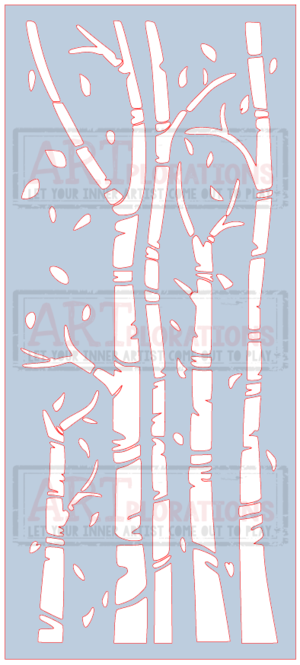
The border is stencilled with the new ARTplorations Slimline stencil Stitchings and Carved Pumpkin Distress inks. Yes our bird has been properly stitched up!
The STAMP girls are showing their makes on the STAMPlorations blog so pop by and don't forget to comment along the way for a chance to win (before the 8th of November)!
***
Whenever you shop for STAMPlorations products you can get 20% off with my code: STAMPGIRLCRAFTY
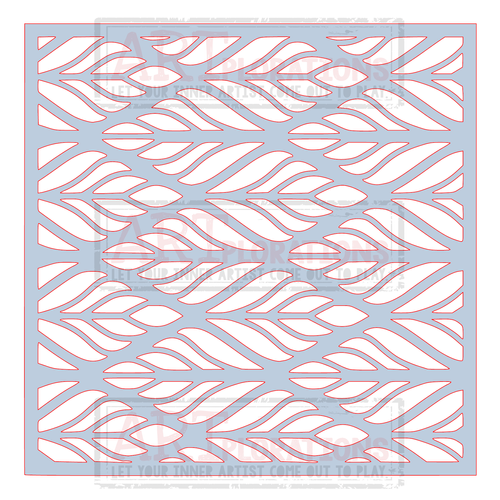
AND during the Anniversary all orders placed with my code will include this not-yet-released stencil, Just Plaid square stencil (10 mil):

***
I hope you have enjoyed all the inspiration and new products the STAMP girls showed all week! Maybe you will also join the Linky parties under way...
As always, thanks for visiting,