' ' ' 'Crafty Endeavours: May 2012

Thursday 31 May 2012

Faux Finishes Challenge

Yeah!!! The Craft Barn challenges are back, starting with Faux Finishes. I chose Faux Metal, and set out to obtain a rusty copper look on my project.


I embossed my metal with a Crafter's Workshop template, then applied embossing ink and black embossing powder to give an all over black colour. Next I applied embossing ink only on the raised surface and pounced mica powders on top. To fix, I just used the heat gun to re-melt the embossing. I love the finish so much I couldn't bring myself to cover it up with a biggish stamped image, which was the original plan,  so I just added a sentiment, some thin copper wire and a button.

Below another photo, this time photographed in the sunlight, so you get the idea of how much the mica shines.


I like the way the background to the sentiment looks like wood - a complete accident ! I picked up a small offcut of glossy card which turned out to be photo paper, and tried a water-based marker on it. The photo paper sucks the ink so quickly a smooth result is out of the question... so I have just come up with a Faux Finish of my own!!!


Thanks for coming by,

Thursday 17 May 2012

New Baby gift

This is the project that has taken my crafting time and the reason I haven't entered any challenge lately. A crafting girl's got do what a crafting girl's got to do.... I mean isn't producing gifts and cards the justification we give when we buy craft supplies ?
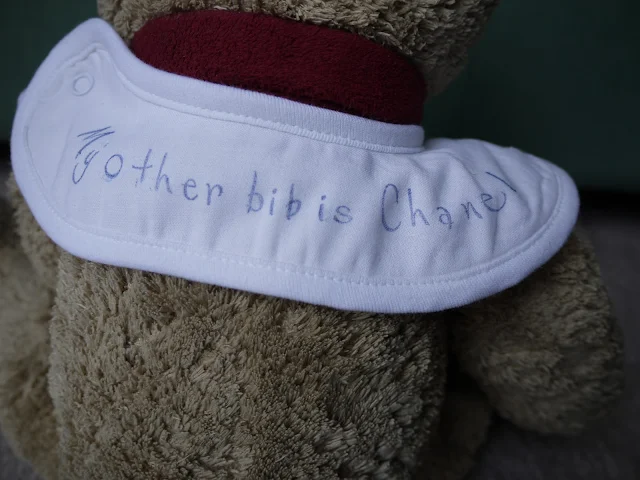
It was a bit of an impulse buy, as I found this "blank" bib at half price and thought it might come in handy, what with  the expected new arrival. But I wasn't sure how I would decorate or which inks would work on the sponge... So here goes, modelled by Teddy (no not mine!)


The stamps I used were from a magazine gifted by my DH which I would not have chosen myself. But as low quality that they are (foam stamps) they turned out pretty useful for this. Given the texture of the material, only bold stamps can be used, plus, they need to retain a lot of ink. I considered using acrylics for the sponge part, wasn't sure, so kept to the Crafter's inks (Versacraft).  Just for fun I added a saying inspired by the car stickers we see in the UK (my other car is a Porsche):


And finally I replaced the cardstock that was part of the packaging and indulged with some more stamping and misting through stencils just because...


Let me know what you think and if you have any tips on stamping on fabric,

Friday 11 May 2012

New Baby Card

WARNING ! Cute ahead....

I have been preparing for a new arrival and made a card and a gift. I will show my crafted gift in a later post but for now here's the card:


I have used papers from my supplies of  Docrafts "Me to You" collection and teamed it with a stamp from the Forever Friends collection. For the greeting I used my printer and a fun Dafont font. For colouring I started with alcohol markers and finished with coloured pencils. And because the front of the card was starting to get heavy I decided to stick patterned papers and die-cuts on the inside too (since I have happened on this idea I find I use that formula quite a bit !) :


You will note that I have blues and pinks and yellows as a scheme so that the card will fit in with either Boy or Girl !

See you soon for pictures of the gift,

Thursday 3 May 2012

And now for something different

It started with one embossed, painted and distressed square some 2 years ago. I got hooked... so I did another, and another... soon, I had more squares than I could use for cards, and I thought I should keep my creations for future reference of the techniques and designs I could get from my supplies.
The idea was born ! I had an unused board from the back of an old frame that could accomodate 30 squares (9cm each) and every now and then I would add a square to my collection until I got 30. As a whole, it isn't brilliant because apart from laying my "black" squares all on the outside there is a lack of unity in colors but if I need to do something similar next time I will know!

I have used stamps, mainly freebies from Craft Stamper magazine as they are not too detailed, embossing folders, brass stencils, texture plates (Ten Seconds Studio, Fiskars, letterpress), dies and found objects (e.g. paperclip). For black distressing, where starting from uncoloured aluminium, I have used black acrylic paint, black inkpad or black alcohol ink. The colours are either markers or Tim Holtz alcohol inks. And here is a close-up :

I hope you too have go at metal embossing !