Showing posts with label Shrink plastic. Show all posts

Thursday, 19 November 2020

Dreamscape Journal page

This did NOT turn out as I intended... 

My journal page for our Country View Challenge, on the theme "Not a card",  was to be Vintage, soft colours, shabby chic... Somehow we ended up with this bright, colourful and fantasy scene. Go figure...

I started with a Gelatos background on Gesso'ed pages:


I then removed colour through stencils, above Fibres from Visible Image and Tim Holtz mini layering stencil set #43  below


Then I used the star stencil from the same TH set and the Strobes stencil by Visible Image to finish the background.

By now I was well on the way to a landscape, with strange colours, yes, but I could see river(s), sun and stars... I retrieved some stamps and set out to further that impression.

I stamped a forest with Lavinia's Tree scene set and some Dandelions.

The Moon and Mia the pushy fairy... I think she pushed the stars in a maelstrom...

And finally Mini Mushrooms, the Large Path and some foliage (Berry Leaves):


And to reward you if you have read so far... the finished page:


I do hope you like my page and will be inspired to enter the Country View Challenge. If you do, you might win a £20 voucher for the Country View Craft shop. And that ain't bad, is it!


Thanks for coming by,
I am entering the Allsorts challenge.

Sunday, 15 December 2019

My cup of tea

Hello faithful followers and crafters, time for a second inspiration post for our December Stamplorations Theme and Photo prompt challenge

You can choose to follow either the theme or the sketch (and of course both) for the chance to win a prize!


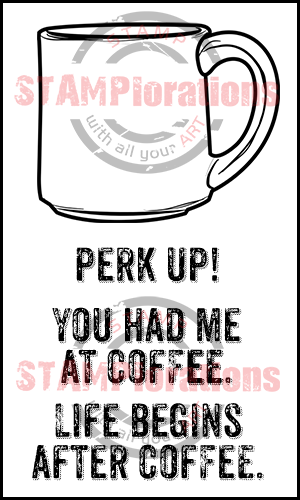
My focal image is from the After Coffee set, stamped with Memento London Fog on patterned paper (Studio Light A6 Paper Pad - No.119). I used alcohol markers for the shading and stamped an extra handle and top for the cup on the reverse of the paper, before putting all the elements together.

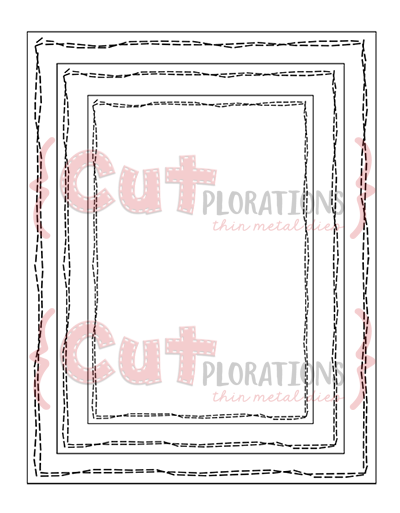
I matted the cup on gold cardstock and the 2 larger sizes  of the Crazy Double Running Stitch Rectangle Nesting Dies.


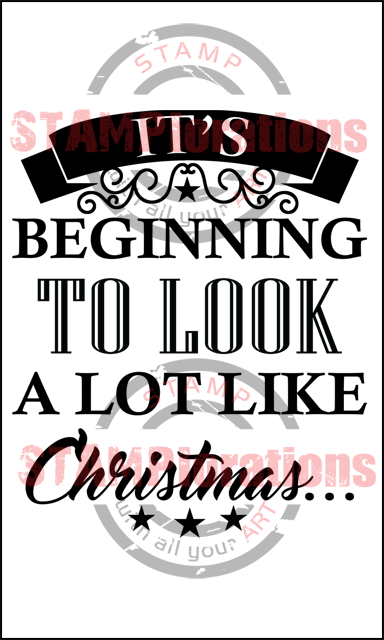
Finally I stamped the sentiment Like Christmas - Typografia Christmas on semi translucent shrink plastic to impersonate a tea bag label, using black and red Archival inks. Before shrinking I also punched a hole for the thread.

Of course you will all know the song -choose your favourite interpreter- which inspired my make!

 
Whenever you shop for STAMPlorations products you can get 20% off with my code: STAMPGIRLCRAFTY
 
***

Your turn to create something inspired either (or both) by the December Theme or the photo prompt, and if you do, there are prizes to be won...
For more inspiration, check out what my teamies made on the STAMPlorations blog here.

Thanks for coming by,
I am entering the Craft Stamper TIMI challenge,  SSS Monday challenge (my stars are tiny but there are a lot of them on the paper and shrink plastic) and the Allsorts challenge.
     

Friday, 23 September 2016

Patina and alcohol resist techniques

In September Tim Holtz is revisiting Paint Patina and alcohol ink resist techniques. I love the look of patina but never tried Tim's technique so this was the time to experiment!

As usual I won't describe the step by step as Tim has done it better than I ever could HERE.


My  resist isn't as defined as I would have wanted it (did I leave it to dry too much?) but up close you can recognise the stamp, Family values from The Artistic Stamper.

I had to replace the alpha part by a die-cut, I used one of Sizzix/Tim Holtz Thinlits (Sentiments words) and decided to add a die-cut corner, also a Sizzix/TH thinlits (Mixed Media) on the upper left.
A hinge die-cut from black shrink plastic (Hardware findings Bigz - Sizzix) and a Tando arrow chipboard have been given the patina treatment to tie in.

For stencils I used Tim Holtz Layering stencil set 10 and TCW Mini Ledger.

As techniques goes, I really enjoyed the patina and love the effect, especially on the arrow:


but I'm less enamoured of the resist as it is more difficult to control!

Thanks for coming by,
Also entering the Stamps & Stencils, We Love To Create and Sandy & Amelie Steampunk  challenges.

Saturday, 23 July 2016

Charming ladies

The theme for the July Crafty Individuals challenge is minis.

Maybe it's cheating but I used clear shrink plastic as my base for my handbag charm, obtaining a miniature at the stroke of a heatgun!


The image is from the Ladies Who Latte (CI-401) set and I stamped it with Archival ink. I was impressed by how clean the impression was, considering the shrink plastic was not sanded and this image is particularly detailed.
I used a bit of acrylic paint to block the face and limbs of my ladies to "flesh" them out and die cut the image with a spellbinders die. (I used the die twice to create the same top and bottom shape, partially cutting each time).
I then backed the shrunk piece with a paper from the Crafty Individuals Seaside book (No 6) and,  as an afterthought, decided to decorate the back of my charm by sticking another piece of the same paper (it's not double sided if you wondered) and stamping an image on top of the paper.


The image on the back is from the Vintage Perfumery (CI-341) set.
To protect the tag from bumps and scratches I applied a layer of glossy accents on both sides.

I made a charm with left over beads and added a sandal charm with a length of chain to finish my handbag charm.
The pink flower is just there for the photo by the way!

Thanks for coming by,
Also entering the Colour Crazy and  All Sorts challenges.

Saturday, 12 July 2014

Inspired By Keren Baker

I managed to squeeze some time for the Paper Artsy challenge to make this card inspired by Keren's watercolour microscope slide.


I won't give you details of the process since I followed Keren's instructions but I had to substitute the microscope slide for a tag so there is no glass.

A quick look at my shrink embellishment :


I lost my bottle and didn't fussy cut the anchor, in case I smeared the ink (I am using Brilliance ink in silver).
The Paper Artsy stamps I used are from the Hot Picks 1111 and 1201.

Thanks for coming by,

Thursday, 18 July 2013

Inspired By Carol Quance (2)

As soon as I saw Carol's first project for the Paper Artsy blog, I knew I wanted to play! However, although I have worn dangling jewellery on occasion, I didn't want my bling to get in the way of everyday tasks, so I made a "bracelet" for my handbag (lucky handbag!).

 
In the main I followed Carol's method, encountering a few hiccups along the way - down to a lack forward planning :
  • colours too strong after shrinking
  • shrink plastic deformed whilst embossing
  • hole a bit too far from edge
  • stray white embossing speckles
At least this time I didn't forget to punch the holes before shrinking!

The stamps I used are from Hot Pick 1204 and 1206 and for the first layer of embossing I used a clear glitter EP.

I second Carol's statement about shrink plastic, some of them do not shrink uniformely and some have pitted areas after shrinking. The Polyshrink brand however does shrink beautifully. Plus here's my tip for no-brains measuring, if you have a metric/imperial ruler that is...

Measure your piece of shrink in inches BEFORE shrinking and in centimeters AFTER shrinking.

So if you want your shrunk piece to be 3cm after shrinking you need to start with 3 inches, simples!

Enjoy !

Wednesday, 12 June 2013

Sew Special

Before I talk about this project, I would like to draw your attention to the right hand side column of my blog. Yesss!!!! I have won the Top 3 Merit award for my May entry in the Country View Craft Challenge. I know this is a small achievement (Tim Holtz needn't be worried), yet I am over the moon:Dand inordinately proud. Plus, I get to make an appearance as Guest Designer next month ! Hope my offering will be up to par...

But enough showing off, June is the month for die-cuts at Country View Crafts so I created a card with plenty of die-cuts from 3 different brands.
I created the background on glossy cardstock using the resist technique with an Impression Obsession stamp.
The "Sew special" letters have been cut with dies (Die-namics) from shrink plastic and lightly colored with alcohol pens (not obvious from the photo). I also punched 2 holes at the top of the letters in order to thread some twine, but after shrinking I realised my holes were a bit small and I used thin wire instead. I used the negative shapes for the I and the L so I could thread them in the same way as the others.
The scissors and thimble have been distressed with black alcohol ink.
The dress is an image transfer from patterned paper on white material, seen from the material side and therefore a lot paler than the original paper.

I am also entering this card in the My Mum's Craft Shop challenge - Dies, Dies, Dies

I used lots of techniques and materials and I quite enjoyed myself making this card !

Friday, 1 July 2011

Bon Voyage card

First of all thank you my first follower! This is encouraging and gives me an incentive to keep blogging.

For this card, I designed a mini postcard on my computer and printed it on off-white card before distressing with ink. I also printed a small map. For the pretend road, I used 2 widths of ribbon and stamped some "trees" with acrylic paint. The stamp is actually a heather type flower stamp but I masked the stalks. The car is made of shrink plastic, colored with permanent pens and clear embossed on the windows.


Thanks for coming by,