' ' ' 'Crafty Endeavours: November 2021

Sunday 28 November 2021

Snarky Cat Christmas 7


How are you doing with those Christmas cards? Still in progress? Well, here's some more Snarky Christmas cats to give you inspiration.... In fact this one has gift ideas too!!!


As for previous cards, the cat and sentiment are from the Snarky  Christmas Cats set (CMS416) from Tim Holtz/Stampers Anonymous. The tree, stamped in Versafine Clair Shady Lane is from a set by Katzelkraft (retired I think).

Thanks for coming by,

 Craftyfield   I am entering the PaperbabeAddicted to stamps,  SSS WednesdayAllsorts, Uniko, Stamping Sensations and We Love Stamping challenges

Tuesday 23 November 2021

Door sign

Welcome to my second inspiration post for our Christmas gifting challenge at our Country View Challenge this month, chosen by Miriam

Admittedly, I made this one for myself but... changing the words and motifs and you can make one fitting for anyone! 
 

For the base choose from MDF, mountboard, light weight wood, and you can even use a shaped substrate like Hearts or Tags. Anything goes...

I decided to leave my wood bare because I like it and it brings a bit of nature inside. I punched holes and added page reinforcers (I have die for that).
The background paper is from the Bella collection by 13@Arts.
The "Atelier des arts" is a Decorative Chip from the Door set (Collection Atelier des Arts by Stamperia ) which I embossed with Wow! EP in Pomegranate.

The 3D rose I created with hot glue and a Prima mould (My Sweet). I used glue just because I wanted to try out the mould and I had my glue gun at hand. [proper moulding material, such as  paper clay, would be a better choice. The lighter the better as it makes it easier to affix the sign without damaging the door/wall surface]. 
I coloured the motif with metallic powders in pink, green and silver (don't ask), only time will tell if it will last on the glue.... If not there's always acrylic paint! The shine looks good though...


There you have it door signs as a personalised gift...

Hope this will inspire you to enter our challenge, only one week left to be in with a chance to win a lovely £20 voucher.

Thanks for coming by,
I am entering the AllsortsRiver of creativity, and Creative Artiste challenges.

Thursday 18 November 2021

Snarky cat Christmas 6


Time for another Snarky cat.... This one is definitely the Scrooge of the feline world...


All stamps are from the Snarky Christmas Cats stamp set (CMS 416) from Tim Holtz/Stampers Anonymous, inked with Versafine Clair (Pinecone and Shady Lane). A few details were picked out with coloured pencils.

Fast and easy card perfect for mass making!

Thanks for coming by,

 Craftyfield       I am entering the Allsorts, PaperbabeWe Love Stamping and  Stamping Sensations challenges. 

Saturday 13 November 2021

Maximize the embossing


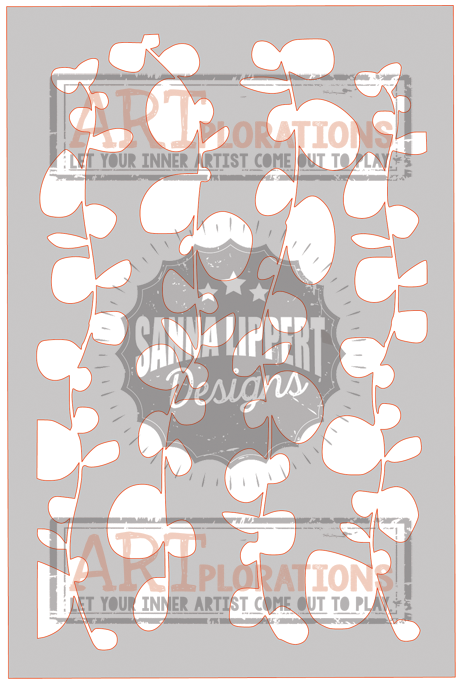
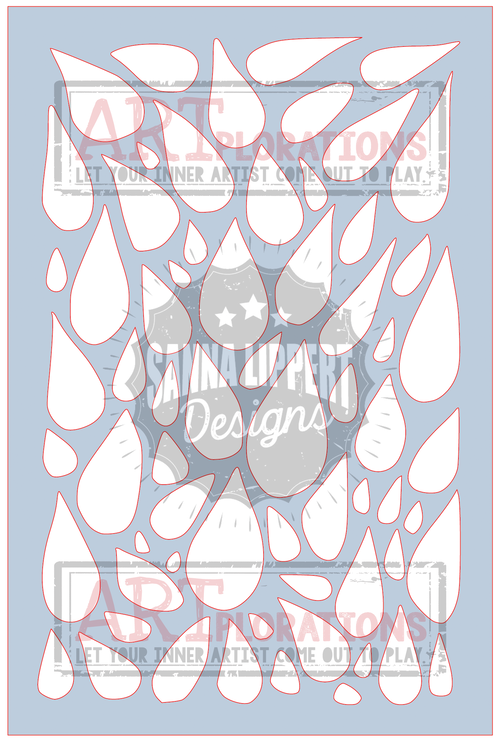
For my second Mixed Media tutorial on the STAMPlorations blog, I am elevating the stencilling with the Embossed Textured paste technique.
This give a more dimensional effect to the stencilling as if embossing with powders multiple times, like this: 

Texture paste and embossing with stencil

Supplies:

Texture paste (mine is Grunge Paste from Paper Artsy)
Embossing powder (mine is Wow! in Perissa, a mix of silver, gold, and copper red )

A look at the beautiful shine....

Once you've mastered the technique nothing stops you from combining it with others... for instance adding powders in an ombre design like I did on this card:

Embossed textured paste with STAMPlorations stencil

Supplies:

Texture paste (Grunge paste as before)
Embossing powders: Wow! Vintage Peacock, Seaglass, Blue Pearl and Frantage Aged Aqua (Stampendous).

Just for you... the shine look!


Do check out my step by step on the STAMPlorations blog.  I will be back next month for a new technique...

Thanks for coming by,
I am entering the SSS MondaySSS WednesdayAllsorts,  challenges.


Sunday 7 November 2021

Snarky Cats Christmas 5

More Christmas snarks...

Here's an accident waiting to happen...


As before, the cats and sentiments are from the Snarky Christmas Cats stamp set (CMS 416) from Tim Holtz/Stampers Anonymous stamped in Memento Black and coloured with pencils.

I created a snowy slope for the cats to glide (and stand) on with Distress ink and a mask made of torn paper.

Mmm...it's going to hurt!!! 

Thanks for coming by,
I am entering the SSS Monday, PaperbabeStamping Sensations, We Love Stamping challenges.


Monday 1 November 2021

More coasters

Some organised people have all their Christmas gifts bought and wrapped by now, having used the whole year to scour the shops for that perfect present....  Well, not me and certainly not this year!

However, WHAT do you buy for the person that has everything? How about a crafty gift made by you and and for that special person? Christmas gifting is the theme of our Country View Challenge this month, chosen by Miriam and I hope you will get ideas from our DT. 
 
My first idea is coasters, I have been creating a few, each time in pairs, and this is my latest offering:


My base is recycled coasters but your can find fresh ones with a holder here.I created the background with Cosmic shimmer matt acrylic paints, this took several layers as I changed my mind... including adding some copper paint here and there. 

My choice of image is from 2 Visible Image sets: the spiral clock from Ahead Of Our Time and the shattered clock and matching background from the Somewhere In Time.

Once dry I stamped my motif with Cosmic shimmer Flake and glitter Glue using a piece of Distress foam and applied my flakes. You can find similar colours to the one I used with these mixes: Silver DreamWarm Sunrise both from Cosmic Shimmer. Now being the control freak that I am I don't just dump the flakes haphazardly on the image... noooo I try and place a gold flake here a copper flake there etc... but you don't have to do that! 
Once all the image is covered I start removing the excess with my fingers , then with a dedicated sponge (it looks a bit like wire wool but made of plastic thread).

For the shattered clock I first stamped the background stamp with black to enhance the contrast with the foil.

I added a bit of darker colour around the coasters with a Pitt brush pen.
Now these will join the other pairs to get their hard core varnish so they can be used for hot or cold drinks.

And of course let's look at the SHINE.... 


Over to you now, have a look at what the DT made on the Country View Challenge blog and link up your project to the challenge for the chance to win a £20 voucher for the Country View Craft shop. Just remember that cards do not qualify for this challenge. 

Thanks for coming by,
I am entering the Paperbabe, SSS Wednesday challenges.