' ' ' 'Crafty Endeavours: April 2021

Wednesday 21 April 2021

Mr Handsome Episode 3

Today I am showing the last 2 projects I created for last week's LG Crafts show on The Craft Store (Hochanda) with the "Mr Handsome" collection by 13@rts. 

This masculine collection cries out for metal accents so I used aluminium foil backed with cardstock as a background to the cool silhouette on this card:


I used 2 sheets from the Mr Handsome 6x6 paper pad, a sticker from the sticker sheet, and some stars and sentiment from the Art book volume 2.
I stencilled some gel medium coloured with black paint and Smoky Quartz Color Glow, through the Idea stencil 
The silhouette is propped up on foam pads.

A photo taken in the shade without the glare of the aluminium:


********

Onto a project which will give you a better idea of all the different papers in the 6x6 and A6 pads. I made this album ready to be filled with pictures. 


The covers are decorated with one of the sheet in the 12x12 pack and I added a few elements from the Ephemera pack to use as photo corners.  


Each page has a different layout, below the front of the pages with pockets:


and the back  (before I added the photo corners):


I hope you enjoyed this series!
Thanks for coming by,

Sunday 18 April 2021

Mr Handsome episode 2

I am back with 2 more projects I created for the LG Crafts show on The Craft Store (Hochanda) with the "Mr Handsome" collection by 13 Arts. 

A few papers in the collection have denim in different forms and I wanted to create some sort of wearable art. I took a real wallet as model and set about making my own, as a gift card holder/greeting card combination.


Once I decided the size of the wallet I cut a piece of 12x12 paper of TWICE the height of the wallet, with a seam allowance of 1/4" all around. I scored the seam allowances and the middle of the paper vertically and horizontally.

Not sure the score lines are readily apparent in the picture of the inside of the wallet!


Next, I drew where I wanted my card slots and cut them with a craft knife on the bottom half of the paper.

Again the slots are difficult to see on this picture of the outside of the wallet (click to enlarge). Note that the slots that show on the left in this picture will actually be on the right when the paper is folded in two and reversed to show the inside.

Like this:


To finish the wallet I simply sewed along the top and sides, added a tab with velcro to open and close the wallet and a few decorative touches, including the made up Gift card and Crafting club membership!


For these I used my printer to add the words on the paper from the collection. 

A fun make (and actually not too difficult) for a special birthday or Father's day, and one certain to get a "wow" from a non crafty male!
******
Next a shadow box with a full 6x6 sheet as the background and many pieces of the Ephemera pack as well as some fussy cut elements from the papers. 


The 3 larger silhouettes are propped on a piece of cardstock folded into a rectangular shape. 

I coloured the "Walking in the rain" chipboard with the 13 Arts Metallic Color Glow in Smoky Quartz mixed with 13 Arts gel medium and the gears from the same Mr Handsome chipboard set with a mix of Jadeite and Smoky Quartz Color Glows on top of black gesso. Without adding water the Smoky Quartz retain its silver appearance so it is easy to get a distressed metallic look with both rusted and non rusted areas!


I hope you like both of these, do let me know in your comments!

Thanks for coming by,
I am entering both makes in the SSS Monday and Allsorts challenges.

Friday 16 April 2021

Mr Handsome Episode 1

Yesterday LG Crafts was on The Craft Store (Hochanda changed their name recently) to show new releases of 13 @rts collections for which I created samples. The one I was working with is "Mr Handsome" a masculine themed with an industrial vibe  collection I really enjoyed creating with.

It has only one stamp 10cms x 7cms (4ins x 2.8ins), a great motif for creating backgrounds, but I wanted to see if I could use it as the main image on a card: 

I left out the upper left corner and coloured some areas with alcohol markers.

I added a ball and an arrow images from the 13 Arts Art Book Paper Pad Vol 2 as well as the "A man with an idea" from the sticker sheet.
 
Jumping from a CAS and modern feel to a Vintage and somewhat grungy one, I made this tag:


My base MDF tag was prepared with DecoArt black Gesso before being dry-brushed with blue chalk paint (Paper Artsy Frescos) . 
I used both stencils (nibs on the left with "Writer" and Idea on the right with coloured texture paste. 
I applied a runny mix of water and Color Glow in Jadeite on the left and Smoky Quartz the latter being perfect to depict rust.

I built my focal point with 3 of the Ephemera pack images and stood a Tim Holtz paper doll on a 4rth.

He does have the look of an inventor, don't you think? I imagine him working away in his lab and writing his research late at night... Before I leave a look at the shine given by the Color Glows...


If you missed the shows you can catch up here and here.

Episode 2 will be available on this very blog soon...

Thanks for coming by,
I am entering the tag in the SSS Monday challenge.

Simply Spring

I saw the theme of the We Love Chocolate Baroque challenge and managed to create 
a CAS card with one of their stamp set, Breath of Spring.


All the stamps are from the Breath of Spring set. except the butterflies I added as an afterthought (too MUCH white space), which are by Crafty Individuals (CI-207). 

I stamped the flower in Versamark and brushed pastel (chalks) over the sticky ink to add colour, one of my favourite technique.


Thanks for coming by,
I am also entering the PaperbabeUnikoSSS Wednesday and Allsorts  challenges.

Thursday 15 April 2021

With all my heart

Only 2 weeks left to enter our STAMPlorations Theme & Photo prompt challenge!
This month the Theme and photo are:


For my second inspiration make I used both theme and photo inspiration, well colours anyway.

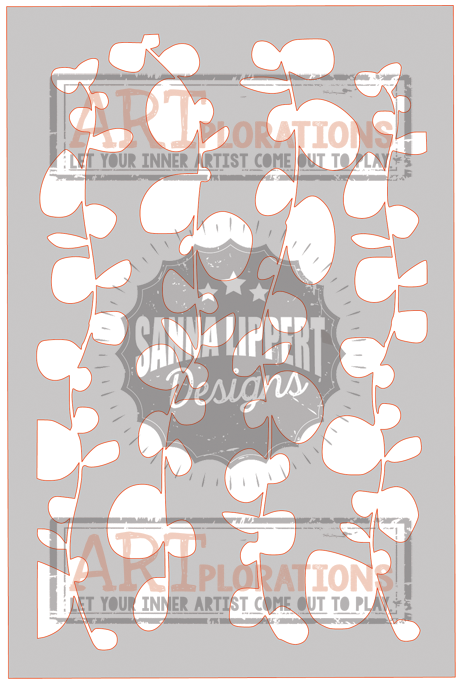
I used a coloured base card for a change and first stencilled the Senecio 1 Stencil with the Merlot ink (Elements Premium Dye Ink from Lavinia), fading at the bottom where the stamping will reach.

I stamped the Tea Cup Row Artsy border with the same ink and coloured the cups with a white pencil.

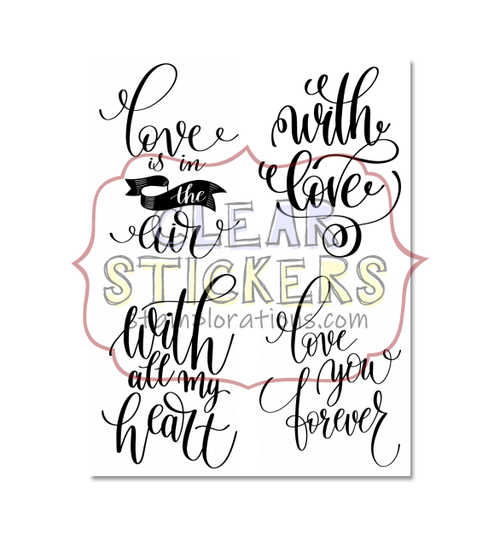
Finally I added a sentiment, from the Love Is clear sticker pack.

To make it my own I fussy cut the sticker close to the letters and added mica powder on the sticky side, just in the middle so it still would stick to the card.


The STAMP girls are showing inspiration for all the challenges on the STAMPlorations blog so pop by and don't forget to comment along the way for a chance to win.

***
Whenever you shop for STAMPlorations products you can get 20% off with my code: STAMPGIRLCRAFTY


***

Thanks for coming by,


Wednesday 7 April 2021

Things with wings hop


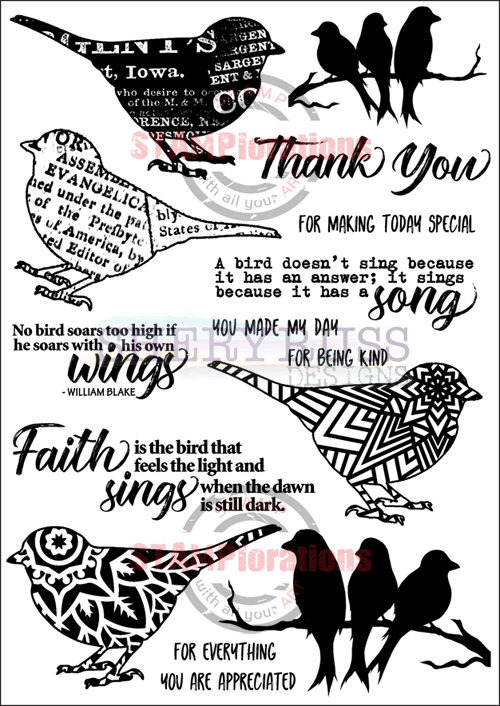
Welcome to the STAMPlorations Spring blog hop, this year we are celebrating with winged things and so I chose one of the image in the For the birds set as my focal point.


My background has first been made in 3 steps:

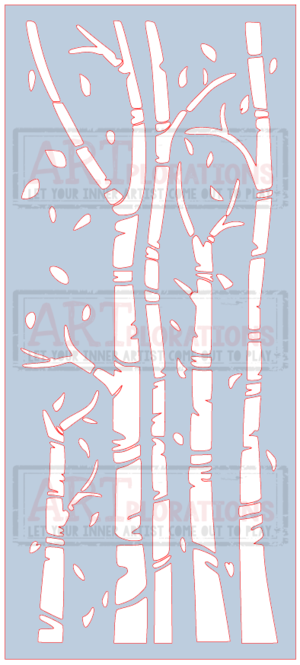
First I stencilled Distress inks through the Beyond the Trees slimline stencil.

Then I added acrylic gel medium with the stencil still in place, thereby waterproofing the Distress inks.

All I had to do then is to add a wash of watercolour to colours the trees trunks and branches. When dry I removed the colour from the gel medium with a slightly wet sponge. Now I had a fairly realistic wood!

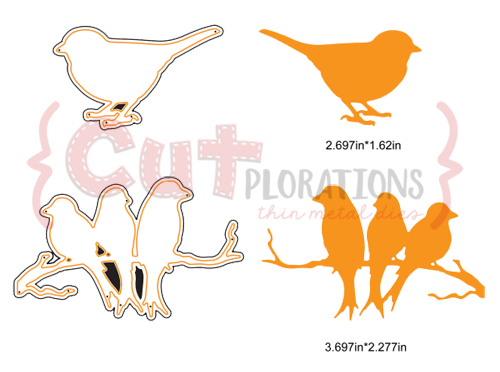
For my focal image, I stamped the bird with black ink and die-cut it with the matching die  before applying Distress inks with Distress foam. I added The Life is good sentiment die-cut from coloured cardstock.

You can win prizes by commenting on the designers' blogs and the STAMPlorations blog but also by playing with us and linking a project on the Things with wings theme until the 7th of May. 
So start hopping! 


Thanks for coming by,
I am entering the Paperbabe, SSS Monday challenges.


Monday 5 April 2021

The Bees


This is my second post for our Country View Challenge, on the theme The Birds and the Bees, chosen by Sue.
As my first piece (here) was a "Birds" journal page, I had to go with Bees for this one as it's the facing page in my journal!
The background, like the previous page, is Art By Marlene Collage Paper - No.2 (Studiolight).

The corner die-cut is from the Sizzix Thinlit Tim Holtz Mixed Media #1 die set.


I used the Sunflower bee by Julie Hickey designs stamp set and matching die to create my bees, stamped in black (Versamagic) and coloured with Big Brush pens (Faber Castell).

I added 2 pieces of honeycomb (from the same die set) and the dictionary definition.

Finally I added a subtle shimmer to the bees wing with a Copic At You Spica Glitter Marker , difficult to catch with the camera:


And that's it... I could have added some colours, splattering but really that paper is enough! No need to overwork it.


 I hope I have inspired you to create your own Birds or Bees themed projects(or both) and share them with us on the Country View Challenge blog for the chance to win a £20 voucher for the Country View Craft shop.

A quick look at both pages together:


Thanks for coming by,
I am entering the Paperbabe, AllsortsWe Love Chocolate Baroque, SSS Monday Challenge challenges.

Thursday 1 April 2021

Meanders

Welcome to a new STAMPlorations Theme & Photo Prompt challenge! This month the theme and photo are:

I chose to follow the theme and, as in nature straight lines are rare, it wasn't difficult to have lots of curves in my landscape!


I made the background with alcohol inks spread on a piece of plastic, with bands of colours representing sky, middle ground etc... Then I used the Ranger alcohol Lift Ink to transfer the colours to a piece of cardstock.
I used the Stitched Spring Landscape and one of the dies in the  Stitched Snow Hills set to cut my middle ground from a different piece of cardstock, also coloured with alcohol inks. I added clouds with the Clouds Artplorations and a tree with the Trees Slimline stencil

I stamped a bird from the For the birds set with Kaleidacolor in Autumn Leaves and die-cut it with coordinating die. The sentiment is from Noteworthy 2.

For more inspiration hop to the  STAMPlorations blog and check what my teamies made. Don't forget there are prizes if you play with us and mid month we will be back with more inspiration for you...

***
Whenever you shop for STAMPlorations products you can get 20% off with my code: STAMPGIRLCRAFTY


***

Thanks for coming by,
I am entering the SSS WednesdayAllsorts challenges.