Showing posts with label Gelli Plate. Show all posts

Tuesday, 21 July 2026

Sunshine Bright

Hello crafters,
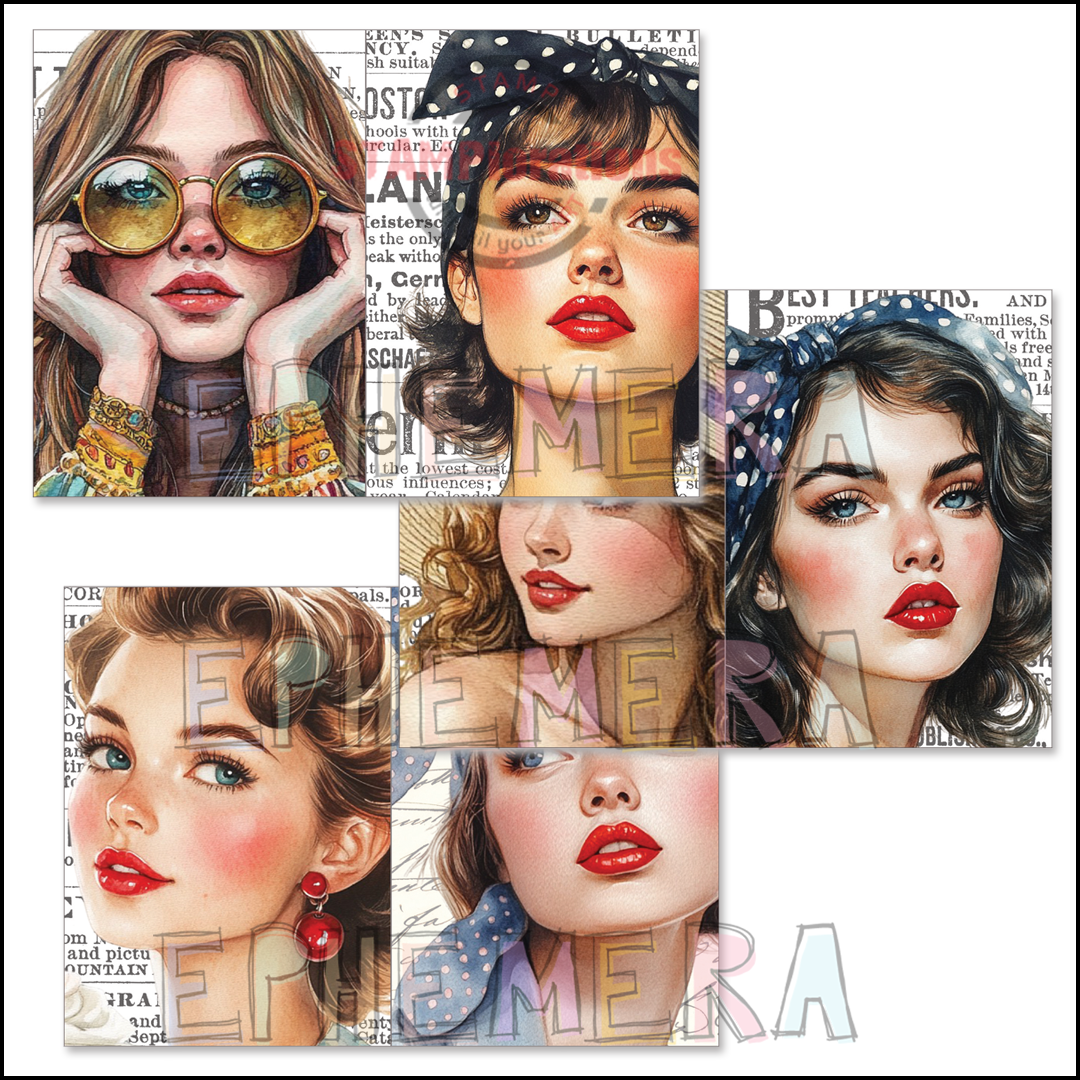
today I have a second post showcasing the Retro Femme ATCs released earlier this year. From the simple to the complex, ATCs can be included in all sorts of designs!

I took inspiration from the ATC's bright colours to create 2 cards:

I used one of the ATCs in the set with papers from my stash (very old freebie), cardstock mats, a piece of fabric and one of the ephemera from the Nostalgia #1 Ephemera Cut-Outs.

Finally I applied a sentiment sticker from the Nostalgic #1 set to an offcut of the background paper to place on top of the fabric.

My second card is just as bright...


This time I used the Strung Lights stencil to create both background papers, one with the Gelli plate and acrylic paints, the other with Distress Oxide ink. 

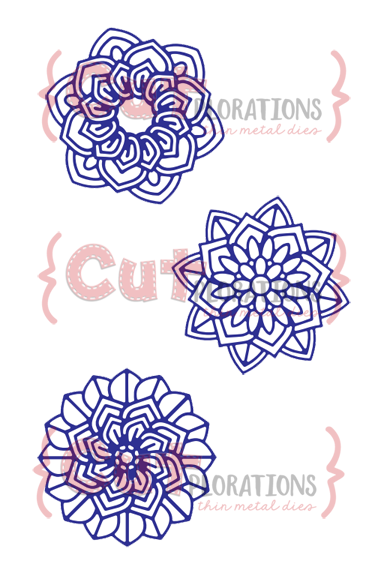
I added die-cuts, the butterfly from the Flutter Zen 1 Layering Dies set and one of the Bloomdala Bliss Felicity Dies.

A few gems and a sentiment, also from the Nostalgic #1 set, add the final touch to the design.
****************
If you fancy trying out the ATCs in your makes, think about the ATC VIP Subscription service to receive your choice of set every 4 weeks. The plan is flexible as you don't have to commit to a length of time and there are also added perks (all the details here.
I am personally trialling this and love the (almost) surprise landing on my doorstep!


Thanks for coming by,
 Craftyfield   
           

Thursday, 2 July 2026

Oriental vibe

Hello crafters, 
Today is the penultimate day of our STAMPLorations Birthday Celebrations.

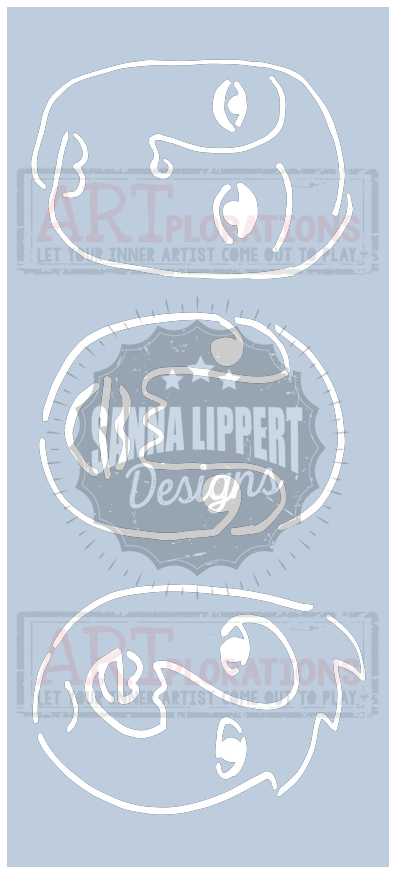
Whilst playing with the Profile 3 - Slimline stencil with different media I happened on the idea of a two-fer...
Unlike this project stencilled with acrylic paint, I used ink this time (Tsukineko Brilliance), applied directly with the pad to a Gelli plate print. I realised quickly that I was inking the entirety of the stencil and could be wasting a lot of ink! This gave me the idea of trying to transfer the ink onto  another  piece of Gelli plate.

To do this I placed the inked stencil face down on top of the Gelli print and run the sandwich through the die-cutting machine. The ink being slow drying, it did transfer to the Gelli print, which I then die cut with an oval shape die.
I also die-cut the stencilled face with the same oval, obtaining both "positive" and "negative" images... Yin and Yang...

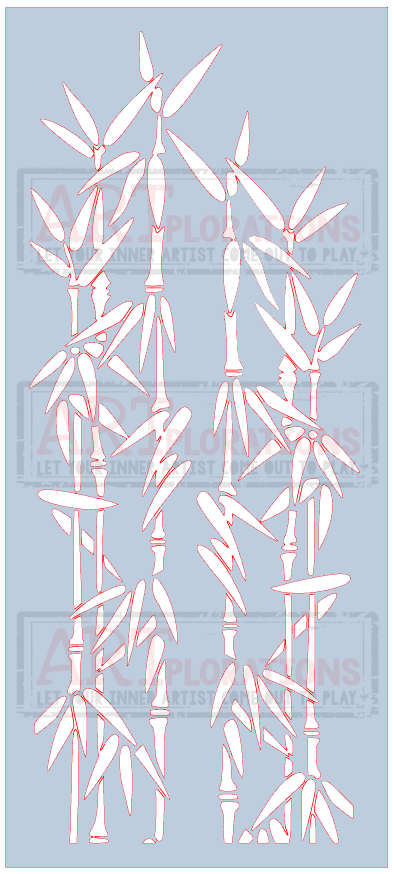
As a nod to the oriental vibe I added some Bamboo stencilling to my base card with green ink, before adding the faces.
The sentiment is computer printed.

*******************
Hop to the STAMPLorations blog to see all of today's gorgeous team projects. Leave a comment letting us know which of the new featured products is your absolute favorite for a chance to win it! 🎂🎉
To celebrate 13 years, shipping is FREE on all US orders of $25 or more this week only – and you'll get the Freebie of the Month automatically included in your order! Happy shopping! 🛍️✨

AND... whenever you shop for STAMPlorations products you can get 20% off with my code: STAMPGIRLCRAFTY


Thanks for coming by,

 Craftyfield   I am entering the challenge
   

Saturday, 12 April 2025

Masculine card with stencils

Hello crafters, 
This fortnight, the Allsorts challenge optional theme, chosen by Val, is "Stencils/Masks". As usual, you can also enter with an "anything goes" theme.

In other news there is a new monthly challenge for tags and ATCs lovers Tag-Along (and ATCs), first challege starts 1st of May.

My stencil inspiration:


The background is a Gelli print I made with a DIY stencil by die-cutting numbers into a piece of card with the ALL & Create die set #33 Numberama (in black) and bits from the #39 Infinarty set. I also used the Ledger (TCW267) from The Crafters Workshop (in white) and Imagination Crafts (MA241) stencils.

I used Paper Artsy for the paints and with the stencils, Prima Heavy gesso (white) and DecoArt Media black gesso.
 
The focal image is AALL & Create Car from the #77 Climbing Wood die set, which I die-cut in pearlescent green (I was going for a metallic paint finish). I added some silverware with foil to the bumper and other accessories.

I cut the Gelli print and a mat with the set #33 Splodazzlers.

Finally I added a clip and a label, both die-cut with the #30 Taggletastic set, also ALL & Create. [Yes I'm a bit obsessed with their dies...] 

Hop on over to the Allsorts challenge blog to see all the DT inspiration and upload your projects. There is a prize from  From Lisa Horton Crafts, Pansy Corner layering stencils with coordinating die and embossing folder as well as a prize of two AALL and Create stencils.... for 2 lucky winners!


Thanks for coming by,

 Craftyfield   I am entering the Addicted to Stamps & More and Creative Artist challenge

Wednesday, 22 November 2023

Brushos and Gelli plate

Hello bloggers,

Today I have 2 cards that could either be Christmas, or as I plan New Year cards. Both use Lavinia stamps and the oval and circle backgrounds have been printed using the Gelli plate. 


I made the background by inking the circle plate with light blue dye ink and sprinkled a tiny bit of brushos, Turquoise for the sky and Moss green for the "hills". Using my stamping platform, I stamped that first circle. Then I inked the plate with pigment ink and over stamped the background for a foggy effect. 
The Fairy Fir Tree (LAV478) was then partially stamped 3 times.
A few die-cuts to finish (Sizzix). 


The background was made the same way as before, except I splattered some acrylic ink for snow instead of stamping pigment ink.
The oval die-cut is from Craft Companion.

Thanks for coming by,

 Craftyfield         My first card is entering the Lost Coast challenge.


Sunday, 23 July 2023

NOT going to the next round

Hello crafters, today I have another inspiration make for the Country View Challenge on the theme of 4 Legged Friend, hosted this month by Sue. 

Today's page is a send up of a very popular talent show. I'm not a great lover of that show as I feel over the years it's become less about the talent and more about the dramas but it's one of these silly ideas that popped up in my mind looking at the meerkats stamp set. Go figure! 


I battled with the Gelli plate for a suitable background. It had to be dark enough and not too busy, so after trying out stencils, and several mix of colours I got to this nondescript page. 

I used 2 meerkats stamps (one for the contestants and one for the judges) and coloured them with pencils.

I put the meerkats (Katzelkraft KTZ 216) in the spotlight by adding some yellow paint.

I created the banner on the computer.

The meerkats are not in stock anymore, but this would be so funny with other Katzelkraft sets with their bizarre "animals".

You have one week left so hop to it and create a 4 Legged Friend (domestic or wild) project and link up to the Country View Challenge. You can enter up to 5 times and there is a £20 voucher for the Country View Craft shop. to win.

*******
This is the last post on the Country View Challenges blog as we are taking a break in August and September whilst changes are made to the way the challenge is run. 

Thanks for coming by,

 Craftyfield     I am entering the SSS Wednesday challenge and Allsorts
Sunday, 1 January 2023

Timeless


Happy New Year! 

The new year reminds us of the passing time and would you believe it Time is the theme the lovely Evelyn has chosen for our January Challenge at Country View Challenges. Clocks, etc... 

For my first inspiration post, I had fun making this Vintage inspired tag:


To make my background I stuck a piece of Gelli printed paper on a sturdy base. I used a variety of stamps and stencils to build the Gelli paper with Fresco paints.
I added some Tissue tape and embossed all around the tag with Frantage embossing powder in  Aged Rose.
The clock and Timeless sentiment is from a Stamperia sheet of chipboard stickers (Romantic Journal collection)
The lace and flower head are from my bits and bobs box.


Over to you now, have a look at what the DT made on the Country View Challenge blog and link up your project to the challenge for the chance to win a £20 voucher for the Country View Craft shop.


Thanks for coming by,

 Craftyfield   
Saturday, 1 May 2021

Birds of a feather

Also starting today is our STAMPlorations Theme and photo prompt challenge. 
This month the theme and photo are:


I took inspiration from both theme and photo and used my Gelli plate to remove ink with feather images from the Trendy Feathers stamp set (unfortunately not available at the moment). Of course you can use the real thing instead! 


Then I stamped the same feathers with ink as a second layer before taking the print.  [If you want more details on this technique you will find a step by step here]
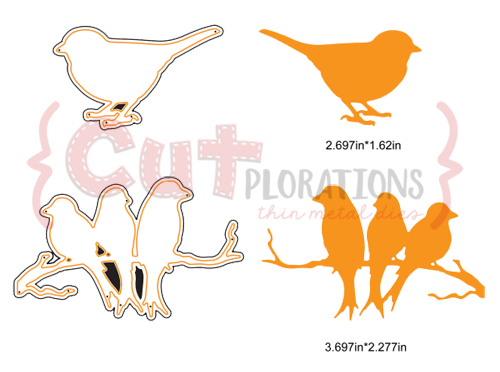
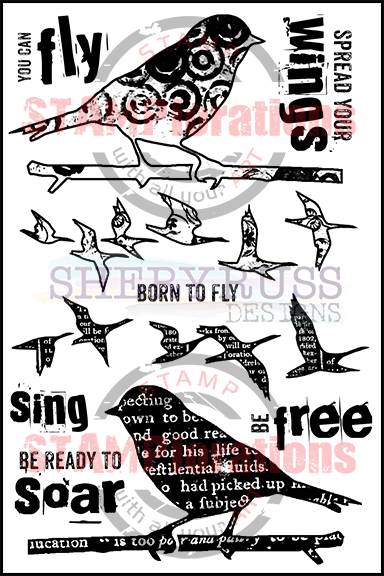
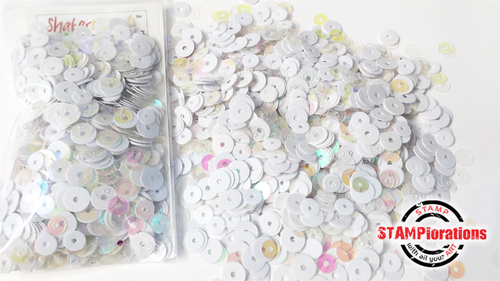
I added birds die-cut from multi-coloured paper with the For the Birds CUTplorations, a doily from Bloomdala Bliss: Felicity Dies the sentiment from the matching stamp set and some sequins from White Frost - ShakerBlends .

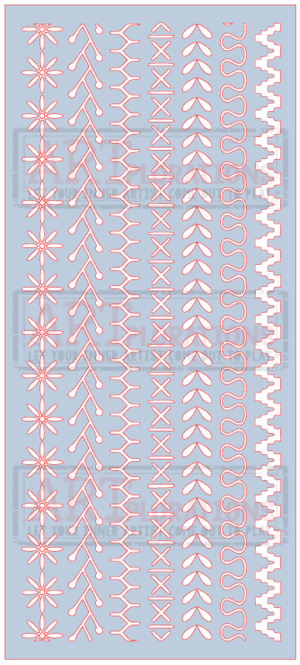
To finish I stencilled the tag border with the Stitchings Slimline stencil.

For more inspiration hop to the  STAMPlorations blog and check what my teamies made. Don't forget there are prizes if you play with us and mid month we will be back with more inspiration for you...

***
Whenever you shop for STAMPlorations products you can get 20% off with my code: STAMPGIRLCRAFTY


***

Thanks for coming by,


Saturday, 1 August 2020

Beside the Seaside

Welcome to August and a new Country View Challenge, which this month I am hosting! I chose a theme to make me dream: the Seaside. I want to see beaches, boats, ports, beach huts, deck chairs, bathers etc… You can choose to illustrate underwater scenes too, but a single fish/seahorse/shell will not do...


This tag came by chance as I was playing with the Gelli Plate. I was searching for the perfect shape to test a technique with and grabbed this old stencil, a metal one, with a small image of a lighthouse. My initial idea came to nothing, I think because the paint had dried too much but, with nothing to lose, I added some white paint through the stencil and took the print. A bit of coloured pencils on top and voila, a naïve lighthouse scene!
My Summer Fun and the quote are from the same Rubber Dance stamp set, Retro Beach.
Have a look at what the DT made on the Country View Challenge blog and I hope you will play with us and share with us your Seaside!
Don't forget you will be in with a chance to win a £20 voucher for the Country View Craft shop if you link up your project to or challenge!

Thanks for coming by,
I am entering the SSS Wednesday, Paperbabe  challenges.

Wednesday, 1 July 2020

Experimenting with alcohol


This should be treat for everyone... My team mate Sue has chosen "Do More Of What Makes You Happy" as the theme of our Country View Challenge this month so all you have to do is use your happy colours, favourite stamps etc..

My faithful readers will know I am a bit of a technique junkie and will not be surprised that, for my first make, I chose to test a new one for me: Gelli printing with alcohol inks. Yes, trying new things makes me happy!!!

As this was a bit of an experiment and I had to work quickly before the inks dried I didn't take any photos but no fear my method is inspired by a video from Barbara Grey who can explain better the process! But in a nutshell, this is what I did:

1. I applied alcohol inks on the plate, added a bit of alcohol, spread the colour with a brayer and placed my stencil on top.
2. With Archival ink and the felt tool I applied colour through the stencil.
3.  removed the stencil, let dry the inks a few minutes and brayered some white acrylic paint on top, then lifted my print with a piece of card.
4.Optionally you can use the alcohol ink remaining on the stencil to create one or more prints by reviving the dried up inks with sprayed alcohol (NOT blending solution).

I managed to get a few interesting backgrounds and some not so great but it is a fun technique. The alcohol inks haven't stained my Gelli Plate except for the yellow (Lemonade), not the end of the world as it is a light colour.

I didn't want to hide the background, which I see as a view over a coastal town surrounded by hills, so I just added some birds (I re-positioned the stencil for that) and the sentiment which I embossed in Midnight Blue.


Supplies:
Ranger Alcohol inks
Archival Mini inks pads Kit 4
Visible Image Strobes stencil
Visible image Where the Dreams take you stamp set
Visible Image Ahead Of Our Time stamp set (the birds)
Versamark Inkpad
Midnight Blue Embossing powder

Over to you now, have a look at what the DT made on the Country View Challenge blog and link up your project to the challenge for the chance to win a £20 voucher for the Country View Craft shop.


Thanks for coming by,
I am entering the SSS Wednesday, Paperbabe, We Love To Create  challenges.

Thursday, 16 April 2020

Old, new and outright weird


Vintage Journey are encouraging  us to use our Gelli plates and with more time to play these days (!!!) I thought I would oblige...

And even though I have many stamps perfect for mark making and creating backgrounds, I selected tools from my collection of found objects:


You will recognise most of those, including the sequin waste and bubble wrap, more weird are the nerf gun "bullets", which can be used on both sides for mark making. As I did several layers of paints some of the texture got lost in the end but here goes:
 

At this stage I added some proper stamping, especially since I had to test some new rubber… starting with Just the Ticket Border stamp from Crafty Individuals (CI-498) and the old(er) Crackle background (CI-116).
I then die-cut a square from my Masterboard and added the Perching Robin (CI-507, also new in my collection) once coloured with pencils and fussy cut.
Finally, I used one of the die-cut words from the Thinlits Adventure Words set (Sizzix/Tim Holtz).


Do tell me what you think in your comments!

Thanks for coming by,
I am also entering the Allsorts, Penny Black and more, Craft Stamper challenges.

Wednesday, 1 April 2020

Born to fly


April's fool day!  I hope this day will find you well and bearing up with the confinement etc..

The first of April is also the start of the Theme & Photo Prompt challenge at STAMPlorations where the Theme and Photo are:


You can choose to follow either the theme or the prompt, and of course both, for the chance to win a prize! If you'd like to be considered for the prizes, please make sure you're linking back to the challenge post and displaying the challenge graphic.
 
I chose to go with the theme and took inspiration from the circular shape of the citrus fruit slices and their colours.


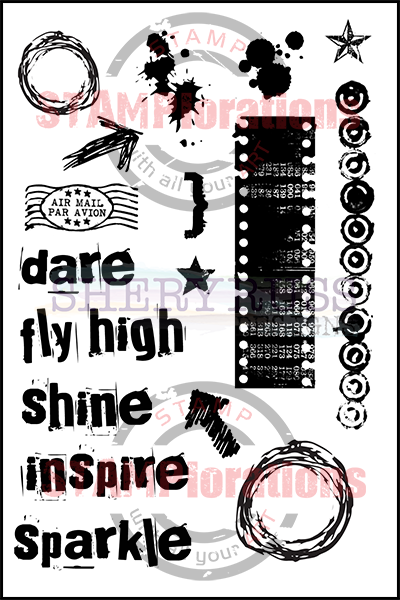
I used Versafine inks and my Gelli plate to create the background, stamping the scribbled circles from the Art Marks set directly on the inked Gelli plate before lifting the print. For an in depth tutorial of this technique hop to this post I did last month on the STAMPlorations blog or watch this short slide show.


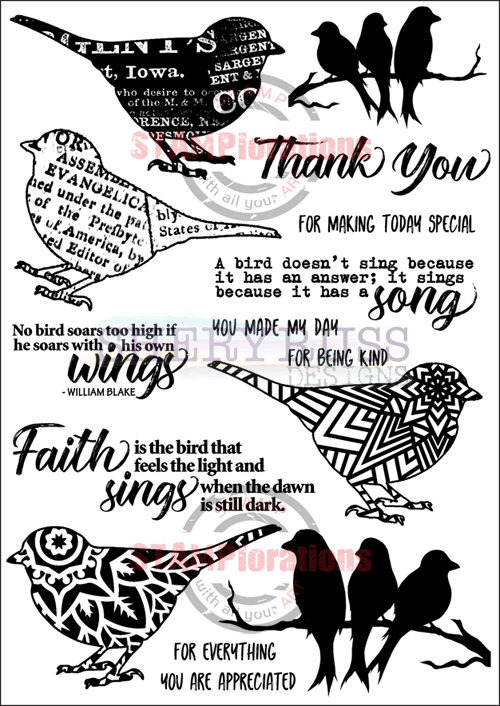
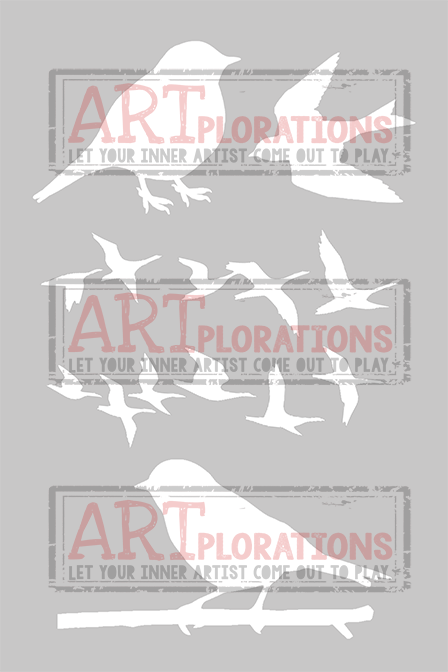
My focal point is one of the bird from the For the Birds set stamped in Versafine and die-cut with the matching die (For the Birds CUTplorations). I gave a branch to my bird to rest on by stencilling just the branch portion of the Some Birds - ARTplorations.

The sentiment embossed in white is from Trendy Birds 2, and I added sequins (White Frost - ShakerBlends) for no other reasons that they add a little something without distracting from the main image.
Lastly I added a piece of sticker from Newsprint Backgrounds #1.

***
Whenever you shop for STAMPlorations products you can get 20% off with my code: STAMPGIRLCRAFTY
***
For more inspiration hop on over to the Stamplorations blog, you have a whole month to create something for the challenge and be in with a chance to win a prize…

Thanks for coming by,