' ' ' 'Crafty Endeavours: 2017

Sunday 24 December 2017

Merry Christmas

So this is Christmas... [I'm singing this song as I write this...] and what have I done for the Craft Barn blog, I hear you ask? Well, a Christmas card of course!

I wondered if I should call on my Oops Birdie for the occasion but he declined, on account that the poor fellow did not want to be confused with a turkey... [didn't have the heart to tell him there's zero chance of that!!!]

Instead, just to prove that fungi aren't just for Autumn, I enlisted my Mushroom Lane house, which I found snowed in since we last saw it.
I believe there has been, as well as snow, several glitter showers recently....

So without further ado,


Supplies:
Riley and Company Mushroom Lane Cling Stamps - House 2
Find it Trading Dies: Yvonne Creations - Merry Christmas
cArt-us glitter cardboard: White and blackColouring: alcohol markers, white acrylic paint, silver gel pen.

The fun thing about this card is the way the partially die-cut "Merry Christmas" projects its shadow on whatever is behind. Like so:

I do hope you will have a great time during the 12 days of the season and that New Year will find you in fine fettle and rearing to craft.

Merry Christmas to you all!!!
I am entering the Lost Coast Designs, Fashionable Stamping, The Artistic Stamper, Unikostudio and We Love To Create  challenges.

Saturday 23 December 2017

Just in time

If you haven't finished and posted those festive cards, I fear it might be too late! Still, if you need a last minute card to hand to relatives on the day, I'm here to help with a quick make.

Plus you can still join in our Country View Challenge, for a chance to win a £20 voucher. Just the thing, when after the celebrations are over and the credit card bill arrives you fancy a bit of shopping...


I used the same Graphic 45 papers as for my first card, and added Snowflakes die-cuts (Papertrey ink) from glitter card, Branches die-cuts with added snow (Graphmaster marker) and a Die-sire Merry Christmas.
The Let it snow topper is a recycled item I saved from last year (maybe a tag attached to a present?).

And again no stamps have been used or abused in the making of this card! So unlike me....

Thanks for coming by,
I am entering the That's Crafty and We Love To Create challenges.

Friday 15 December 2017

Jingle all the way

Christmas is now awfully close and there isn't much time left to make cards... I'm here to help with some further inspiration for the Stamplorations Theme & Sketch challenge.

The theme and sketch are:


I am following the theme only for this Christmas card, using a wide format for a change.
My base card is a square cut from an A4 sheet, using the whole width, and folded in 2. [Transposing to the standard US letter size,  the folded card will be 8"1/2 wide by 4"1/4 high].


There is no fancy technique here, I stamped several times one of the leaves from the Trendy Leaves set with Versamark and embossed in gold EP, added a thin piece of paper (Graphic 45), the Jingle All The Way die-cut and stamped birds from the Trendy birds 2 set.

The most fiddly part was to tie the twine round the letters and applying dimensional adhesives to the back of the die-cut.
The string is kept in place with a few dots of liquid glue to maintain the designed curve.

Another look square on:
And again from another angle...
 
Quite pleased how this turned out, clean and simple with lots of white, but enough hints of Xmas with the gold and snippet of green and red paper.
 
You still have time to enter the Theme and Sketch challenge so hop on over to the Stamplorations blog to get more inspiration from the DT. Your make only need to follow either the Sketch or the theme and there are lovely prizes to win...

Have a great weekend,
I am entering the Fashionable Stamping, That's Crafty, Craft Stamper TIMI, SSS Monday Challenge, Unikostudio,   The Artistic Stamper challenges.


Saturday 9 December 2017

Glistening snow and winter trees

No snow yet over here but the temperature has plummeted and we could well be in for some white stuff very soon!

Which reminded me of that fun snowman stamp from Rubber Dance so I decided to make a winter card that I could use either for Christmas or for New Year, or any other impromptu occasion that may come along this winter.

Be prepared with a spare card, that's the crafter's motto, isn't it?

 
I first stamped Mr Frosty and masked him with masking fluid (liquid frisket). I then cut some hills from masking tape. With the bottom of the card protected, I  applied water diagonally in stripes and sprinkled some Stormy violets Infusions (Paper Artsy) and some Brushos in green and violet. Whilst still wet, I splattered some iridescent paint on the background. The effect I was after was the Aurora borealis and this worked quite well, I think.

I stamped the trees in black ink (Stampscapes) and shaded the areas between the hills to define them with a grey watercolour pencil.

I added some glitter mixed with gel medium on the hills for the glistening snow, a sentiment from the Winter Wonderland, also from Rubber Dance, and some colour to Mr Frosty to finish.

More photos to try and show the changing colours according to the light:


Enjoy the rest of your weekend!
I am entering the Rubber Dance colour challenge (I used glitter rather than the colours) and Forever challenge, Lost Coast Designs, Vintage JourneyThat's Crafty, Stamping Sensations, Addicted to stamps, SSS Monday Challenge, We Love To CreateCreative Artiste and Craft Stamper TIMI challenges.

Friday 1 December 2017

Gilding the Leaf

Today is the first day of a new Theme & Sketch challenge at Stamplorations.

The theme and sketch are:


For my first make, I tackled both theme and sketch keeping things CAS:


I cut a panel of Kraft cardstock, with one of the Stitched Snow Hills die and aligned 2 further pieces of cardstock, one black and one white, die-cut with the same die top and bottom. I then stuck all the pieces on a card base,  avoiding the bulk of overlapping die-cuts.

I stamped my sentiment from the Trendy Leaves and embossed with gold embossing powder.

On brown cardstock I stamped the Leaves with glue and used gold mica powder on 2 leaves and gilding flakes on the third, for even more shine! The photo above is taken in direct sunlight which shows off the shine but obliterates all the details, so below is another pic taken in the shade:

Hop on over to the Stamplorations blog for more inspiration from my teamies and do join us in our Theme & Sketch Challenge.
If you do, you might win a lovely Stamplorations prize...

Thanks for coming by,
I am entering the Craft Stamper TIMI challenge.


A touch of rust

Welcome to our last Country View challenge of the year and the theme has to be Christmas of course!
I'm sure this one will appeal to many crafters... The DT has been optionally challenged to use the traditional Christmas colours of red and green with some RUST thrown in...

Strictly speaking my make has more of a copper/Verdigris vibe but Verdigris is like rusted copper isn't it? Either way, here's my make:


I have used some old Graphic 45 papers (Christmas Emporium) of which I still have a large stock, including the Christmas tree topper.

I added a die-cut border (Diesire Create a Card - Delicate Swirls Square Overlay Die) which I embossed with Frantage Aged Copper and some culinary rust, namely cayenne pepper and turmeric, no kidding, which adds a matt and textured look to the embossing.

The tree topper has also been embossed with Aged copper all around and I matted it on a die-cut (MFT- Blueprint 13).
A few die-cut branches (Impression Obsession) with added snow (Graphmaster white acrylic paint marker), a Die-sire Merry Christmas and a piece of ribbon to finish.

And to finish, the shine shot:


I normally avoid the red and green combo, but I must admit that this Vintagey version does appeal and I actually enjoyed making it!

Over to you... proceed to the CVC blog to check out what my teamies did and leave us some love in your comments! We will be curious to see what you make for our Country View Challenge. Don't forget every entry has the chance to win a £20 voucher to spend on new goodies!

Thanks for coming by,
I am entering the That's Crafty And Vintage Journey challenge.

Thursday 30 November 2017

X-mas wrapped up

So I have the cards, the next item on my crafting to-do list is the wrapping. I may yet create some wrapping paper, I have done so in the past, but today I'm looking at making bags in the quickest way so that I have a template for last minute wrapping panic (been there, done that).

If you want to read my step by step for not just 1 but 2 kind of bags you will have to hop on to the Craft Barn blog.


Supplies:
Woodware clear stamp: Huge Snowflake
Embossing powders: Cosmic Shimmer Brilliant Sparkle in Gold, Sea Glass (Wow), Frantage Aged rose, Clear
Paper Artsy Fresco paints
Andy Skinner's Sunburst and Imagination Crafts Drop Screen
Inks: black Versafine, Brilliance Starlight silver, gold
Envelopes, mirror card.

Hope you like my bags!
I am entering the SSS Wednesday and Rubbernecker challenge.

Wednesday 29 November 2017

Stencil blog hop

Welcome to the Stamplorations Stencil Blog Hop! 8 new designs by Sanna Lippert have been released and will be showcased along the hop.


https://stamplorations.blogspot.com/2017/11/stencil-blog-hop-with-sanna-lippert-designs.html

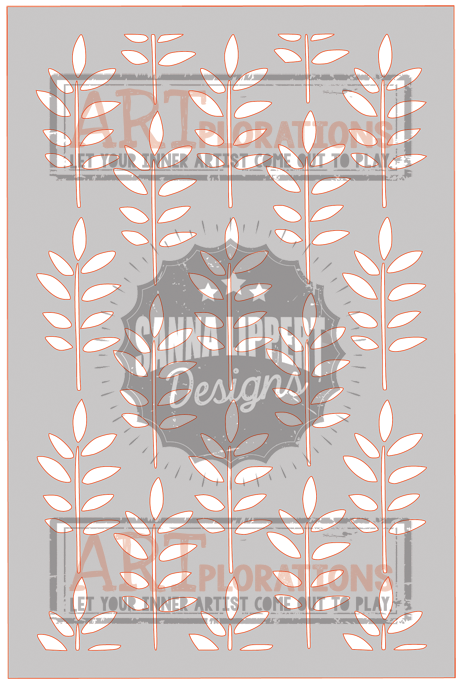
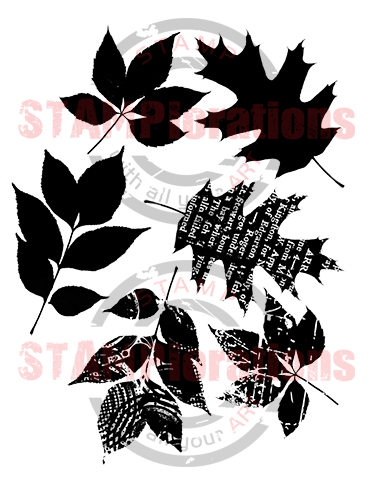
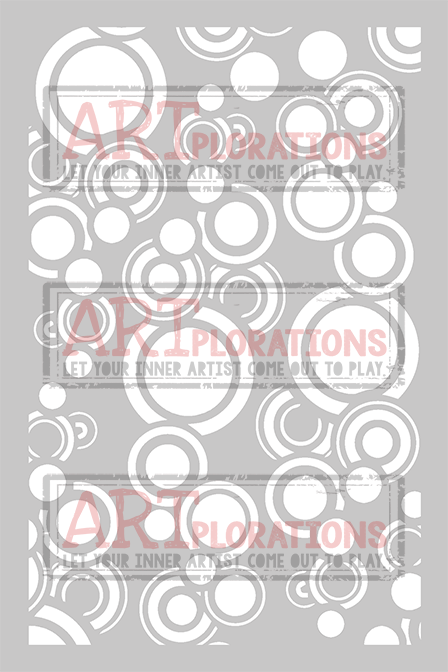
First up, a colourful card where I made my own "patterned paper" with the ARTplorations Leaves 2 stencil.


I took a bit of texture paste, coloured it with acrylic paint and applied with a painting knife through the Leaves 2 stencil.


For more interest and dimension, I then covered the paste with Wow embossing powder in Olive. Before using the heat gun, the paste must be dry!

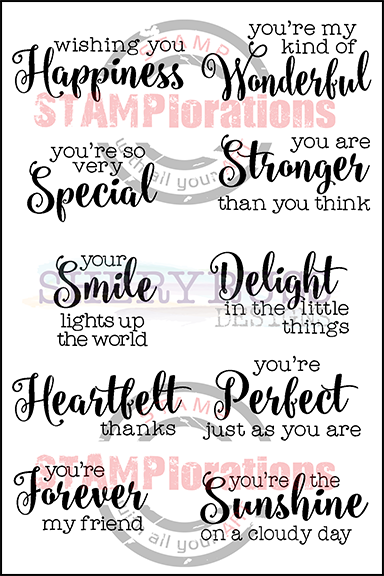
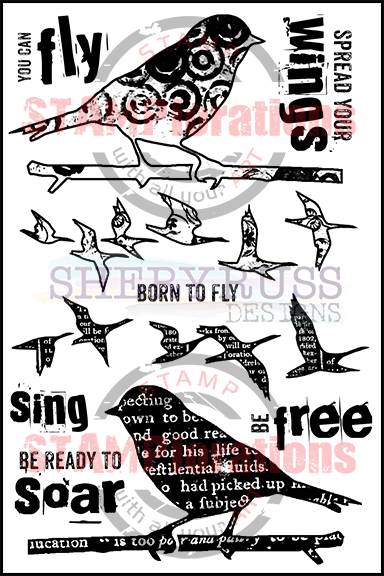
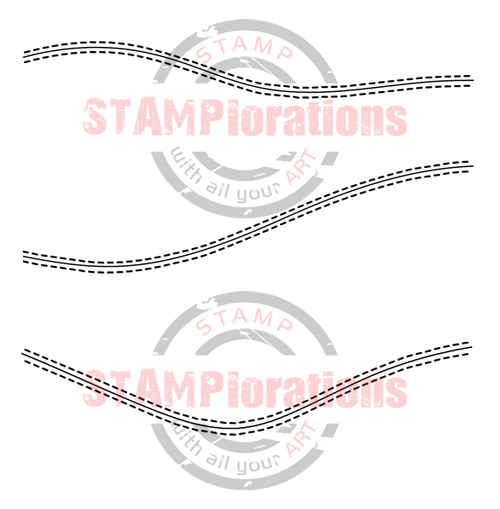
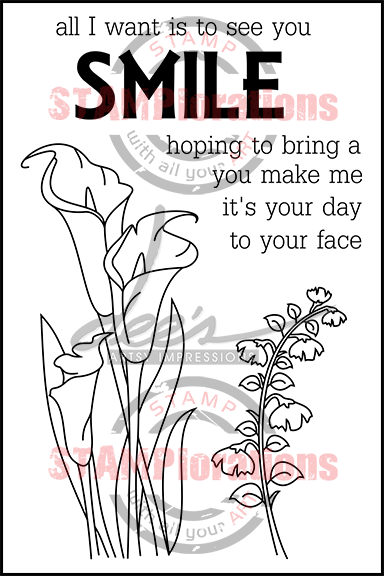
I cut a piece of pink hand made paper with 2 of the Stitched Snow Hills dies and added my sentiment from the Fond Expressions 2 stamp set.


For my second project, I played with my Gelli plate to create a distressed background.


I applied a first layer of blue paint and placed a piece of canvas on top to create texture.
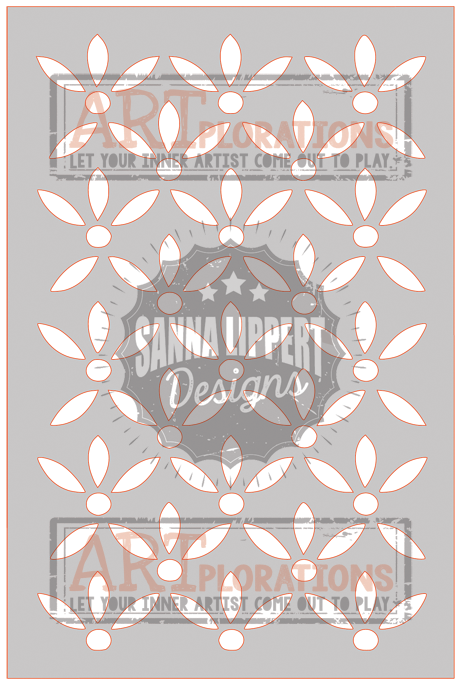
I spread a second layer of paint with pinks and lavender on top of the DRIED blue layer and placed the Flowers 2 stencil over the plate.
Immediately, using a scrap piece of paper, I removed paint through the stencil.
When the second layer had dried I applied a final layer of paint, in a deep Lavender shade, and lifted my print, which pulls up all of the dried layers together.
This is what I obtained:

I wasn't happy with the lack of contrast between the stencil motif and the rest of the print, so I started again this time with an orange colour instead of the pink (I didn't take pictures but followed the same process). The stencilled motifs were barely visible so I added stencilling directly on the print.

I cut a piece of the print to fit my card base and added double sided adhesive around all around to create an embossed "frame" with Wow! Grape embossing powder.

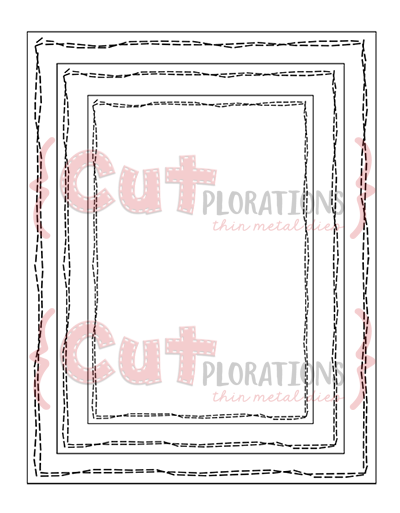
My focal image is using the top 3 petals of the Flowers 2 stencil motif and the stem and leaves of the Leaves motif. I used Pan Pastel for the petals and Distress Oxides inks for the green. It is matted on the smallest die from the Crazy Double Running Stitch set.

**********
 
You have until the 4th of December to join us on the Stamplorations Stencil Blog Hop and leave comments for a chance to win prizes.
Winners will be randomly drawn from comments left on the STAMPlorations blog and participating designers blogs. There will be 1 winner of $20 gift certificate and 2 winners of their choice of 3 Sanna Lippert Designs stencils.

Have fun hopping!
I am entering both cards in the SSS Wednesday and Polkadoodles challenges.


Sunday 19 November 2017

On the road again

Welcome to my second inspiration piece for the Country View Challenge, where the theme chosen by Gabrielle is Stencils.

And I'm still travelling... this time with a Vintage tag:


I first blended 4 colours of Distress Oxides on a manilla tag.

Then I sprayed water through 2 stencils:

The wall stencil is difficult to see but you should be able to glimpse the woodgrain. Not that it matters, since it is totally obscured in the finished tag!

Now a bit of background stamping with the Scripted Streets by Visible Image.

Then, I used a DIY stencil (made with a Papertrey Ink Cover plate die) with transparent texture paste. After drying, I re-applied more D.O on top to show up the stencilled hexagons.

A piece of netting die-cut, corners and lace scraps serve as mat for the vintage image by Crafty Individuals (this is NOT a stamp).

I had a bit of "white" space left and I thought it was crying out for one of the Adventure Words from the Sizzix Thinlit die set, and more  hexagons (die-cut from cork sheet) so I obliged...

Your turn to pull out your stencils, there's still plenty of time to enter our Country View Challenge. If you do, you could win a £20 voucher!

Thanks for coming by,
Also entering the Creative Artiste, That's Crafty, and We Love To Create challenges.

Friday 17 November 2017

A card and a bonus tag

Welcome to my second inspiration post for the Stamplorations Theme and Sketch challenge.

Bear in mind that to enter the challenge you can choose to follow either the sketch, or the theme:


I made card following the sketch and a tag that follows both the theme and the sketch.


For the card, I stamped the bird from the Trendy Birds 2 stamp set with Distress Oxides inks in Salty Ocean and Wilted Violet. I then used the mask from the ARTplorations Stencil Some Birds
to protect the bird when I stamped the leaves from the Trendy Leaves set with Versamark.
I took the mask off and used Wow Embossing powder in Fairy Tale, which is a gold with holographic glitter.

The sentiment is from the same Trendy Birds 2 set and has been embossed in white.


The glint and multi coloured reflections of the embossing powder are hard to capture on film but here goes:

On my left it looks blue... and
on my right, it looks green...

Beautiful in natural light!


For the tag, I stamped and embossed a flower from Dee's Artsy Impressions - Smile set  and masked it with masking fluid (liquid frisket, rubber cement or similar).

Using the Retro Circles stencil I applied Distress Glaze to create a resist before spraying with water and sprinkling powders on top (Brushos). When dry, I removed the masking fluid to reveal the flowers and stamped the sentiment from the Shery Russ Designs - Fond Expressions 2 stamps set.

You still have time to enter the Theme and Sketch challenge so hop on over to the Stamplorations blog to get more inspiration from the DT. Your make only need to follow either the Sketch or the theme and there are lovely prizes to win...

Thanks for coming by,
Also entering the The Artistic Stamper, That's Crafty and Craft Stamper TIMI challenges.