Eek!! Just in time for the Artistic Stamper Black & White challenge....
I saw this as the perfect opportunity to kill several birds with one stone, as a) 2 of the stamps from the Artistic Stamper Family Values set were as yet un-inked, b) I wanted to test my new stamping platform.
To make use of the Black & White, Yin and Yang concept I decide to create a flip card. I struggled so much that if I ever feel the need again I will get myself a die to do it for me!
Front and back when closed.
Front and back when opened.
I stamped the Numbers image with black dye ink on linen textured cardstock, and the stamping platform allowed me to go over several times for an acceptable print.
Equally difficult is getting a white enough white with inks, unless this is embossed, so my second test is with the Letters image stamped with white pigment ink, which I stamped many times (I lost count...).
Quite pleased with the result on both counts, so the platform gets my vote!
Thanks for coming by,
Also entering the Penny Black and more challenge.
Monday 31 July 2017
Wednesday 26 July 2017
Of Tagging and spray paints
Lucky me... I got to play with new stuff as well as use up some of the old stash!
As sprays goes I have quite a few different brands but, so far, the only ones that I haven't had a problem with (clogging and getting the paper too wet) are the Prima Blooms. Some new colours have arrived and I added a few more to my collection and got testing... Would the new bottles be as good as the old ones?
Come and read about my experiments on the Craft Barn blog where I have a step by step for this tag:
Supplies:
Rice papers, Starlight paints: Imagination Crafts
Pixelated stencil: DecoArt Mixed Media
Life's a beach Flourishes: Kaisercraft
Distress Oxides: Ranger
Prima Blooms sprays.
And look... not a hint of stamping!
Thanks for coming by,
I am entering the That's Crafty and SSS Wednesday challenges.
Monday 24 July 2017
Make a wish
I am trying to catch-up and ink the stamps I bought (some over 6 months ago...) and haven't got around to use. I know, a nice problem to have!
This one is from Crafty Individuals and it's the last one I bought, from their latest release, and I thought it fitting to team it up with the first CI set I ever bought.
The background is easy to make with a brayer and a Kaleidacolor pad, here I used the Autumn Leaves but Desert Heat or even Tomato Vine would work for a hot sunset background.
I stamped the CI-471 Make a Wish image with dye ink and decided to add ribbon underneath as she looked odd cut in half against the sunset!
Below I stamped the Make a Wish sentiment from Rubber Dance (Affirmations set) .
The stamp is not a solid silhouette by the way, and what may look like a patchy impression is actually the very fine script on the little girl's image.
Finally, to give my tag an edge (pun intended), I added the Ferns & Grasses (CI-207 set) at the bottom.
There you have it, pure stamping pleasure!
Hope you'll like it too,
I am entering the Rubber Dance, Lost Coast and SSS Monday challenges.
Friday 21 July 2017
Prepare to fly
Welcome to my second inspiration make for the July Stamplorations Theme & Sketch challenge, which brings my GDT stint to a close.
It can be difficult to create something with both constraints of Theme AND Sketch but I felt I was duty bound to show I could do it! [To enter the challenge, you can do either ]
Without further ado, my card:
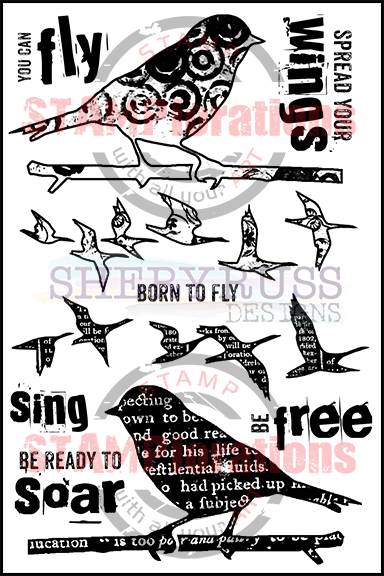
I created a circle stencil and applied Distress inks through it, over-stamping the bird from the Trendy Birds 2 set with Versafine black ink. I added 3 of the sentiments below each bird, in a "Ready, steady, Go" type of concept.
I cut the card with one of the Stitched Snow Hills CUT-plorations and added a piece of patterned paper (from a very old, K & Co pad).
I layered the cardstock and paper on a blank card (5"x7").
For more inspiration from the team, drop by the Stamplorations blog and do join the challenge here, following the sketch, the theme or even both!
I take this opportunity to thank Shery for having me as GDT on the blog, it was such a pleasure and an honour to be part of the Stamplorations family and I wish her and the team continued success, they all deserve it!
I am entering the Craft Stamper TIMI challenge.
Sympathy card
If you've ever needed a Sympathy card in a hurry and considered buying one from the shops - anathema for a crafter - this post is for you!
I used a simple and quick design with a classic flower theme, which you can make up in advance or when needed. You'll find the step by step on the Craft Barn blog and a bonus tag too!
Supplies:
Fresco paints: Paper Artsy
Lilies stamp: Honey Doo Crafts
Archival mini inkpads set 4
Archival black inkpad
Sentiment: Inspired by Stamping
Thanks for coming by,
I am entering the Addicted to Stamp and Uniko Studio challenges.
Saturday 15 July 2017
Christmas in July
Yes... you're reading correctly, I have made a Christmas card and it's not Autumn yet! So unlike me...
I only did it because I was in search of a Winged Thing for my second inspiration post for the Country View Challenge and I spotted this yet un-inked robin.
I know that robins exist all year round but still, it's an instantly recognisable Christmas image so I went with that.
Maybe a mistake because what with the extreme heat (30C in the UK is extreme!), I feel I let down my robin and didn't give him the attention it deserved.
I stamped this Crafty Individual image (CI-456) with Memory grey dye ink on watercolour card and applied colour with watercolour pencils. A spritz or 2 of water started activating the colours and, with a wet brush, I touched the areas that needed definition.
I hesitated for a long time and added with a fine liner some dark accents, including the top portion of the bird. I'm not sure if it was the best idea...
The rest is fairly easy with a few die-cuts (MFT- Blueprint 7) from an old Graphic 45 paper pad.
It's a good design for Christmas makes as the bird is small enough to make the colouring quick and mass production a real possibility.
Over to you... you can enter our Country View Challenge with any Winged image and don't forget you could win a £20 voucher if you do!
Thanks for coming by,
I am entering the Vintage Journey challenge, since my papers have a definite Vintage vibe, although my bird is timeless! And the Polkadoodles challenge.
Wednesday 12 July 2017
New Home
Today I am showing how I made this New Home card and matching tags set on the Craft Barn blog.
The main stamp is from Mushroom Lane (by Riley & Company), a collection of houses, and public buildings (Hospital, church etc..) all made out of mushrooms.... I thought they would make the ideal faierie home so...
Seeing how large the stamp was I decided to make 2 tags at once and used pencils directly on the coloured card, which gives a different look from the alcohol pen on white cardstock that I used for the card.
Supplies:
Riley and Company Mushroom Lane Cling Stamps - House 2
Mia (faerie) from Lavinia
EK02 from Paper Artsy
Black dye ink (Memento), White pigment ink (Versacolor), Versamark
White Embossing powder (Stamp & Stuff)
Alcohol markers (Promarkers)
Coloured pencils (Coloursoft)
Copic At you Spica pen in lavender
Do come by the Craft Barn blog to see the step by step, including my easy side stepper card template.
Thanks for coming by,
I am entering the Allsorts, That's Crafty and Craft Stamper TIMI challenges.
Friday 7 July 2017
Tea rose
A warm hello on this July day, hopefully a sunny one wherever you are in the world!
A new Stamplorations Theme & Sketch challenge starts today and you can choose to enter by following the theme and/or the sketch. For my first inspiration make of the month I have chosen to go with the theme.
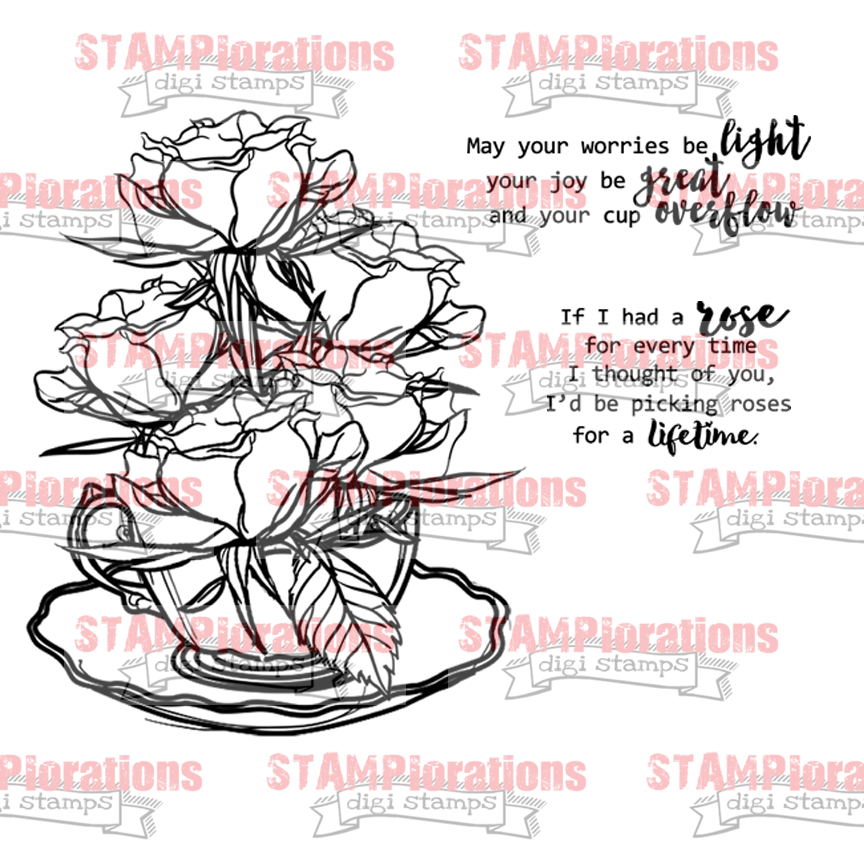
Time has seriously got away from me these last few months and even though I've had the Cup of Roses stamp for a while this is the first opportunity I've had to blog this wonderful image!
I first stamped the image with black Versafine ink and stencilled Distress inks around it with the Shutters Mini - ARTplorations Stencil.
For strong, vibrant colours I chose to use Gelatos, which can be applied thickly.
My picture on the left shows a rose where I have just laid the colours with the sticks, and, the bottom rose where the colours have been spread and mixed with the help of a silicone tipped "brush". I would normally use fingers but for such a detailed image I needed a much more controlled application.
I considered (and rejected) several options for embellishing, framing etc... but the stamp is powerful, quite large too and I felt less was more and allowed the Cup of Roses to shine. I added one of the 2 sentiments included in the set and left it at that.
I hope to see plenty of entries in the Stamplorations Theme & Sketch challenge whether you are following the sketch, the theme or even both!
Thanks for coming by,
I am entering the Fashionable Stamping, Stamping Sensations, That's Crafty and Craft Stamper TIMI challenges.
Saturday 1 July 2017
Where I'm on trend...
Time for a new Country View challenge where July's theme is Things with wings, hosted by the lovely Jane. Apparently flamingoes are all the rage in crafting circles so I went with that, especially since I had a previously unused flamingos stamp!
And, since I love my stamped scenes, I created a lake and a sunset sky with Distress inks, shunning any embellishments or sentiment, adding just several mats to frame the scene.
I stamped the birds from a Flonzcraft set (Animal Landscapes borders 01) with a pigment ink and embossed with clear embossing powder. With the birds protected by the embossing I applied all my inks and overstamped the grasses, also from a Flonzcraft set (Grass and Meadow borders).
Easy peasy... I'll be back on the 15th for a second inspiration piece and who knows I might find another unused item in my stash...
Do check what my teamies did on the Country View Challenges blog and enter the challenge to win a £20 voucher!
I am entering the SSS Wednesday, Casology challenges
Subscribe to:
Posts (Atom)