' ' ' 'Crafty Endeavours: February 2020

Friday, 21 February 2020

Gelli Printing with inks

Today I am showing a Gelli Print technique on the STAMPlorations blog. It doesn't use acrylic paints and is a lot more controllable as a result, it also works in transparent layers, unlike paints, which are usually opaque.

I made the background of this tag and a few others with this technique.


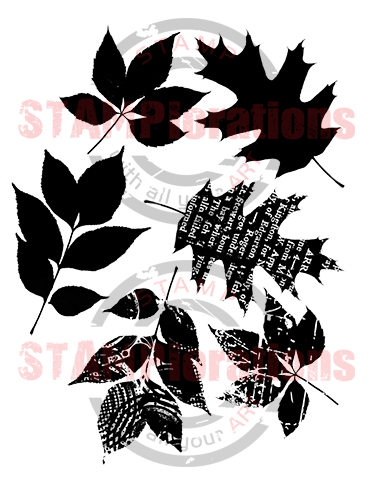
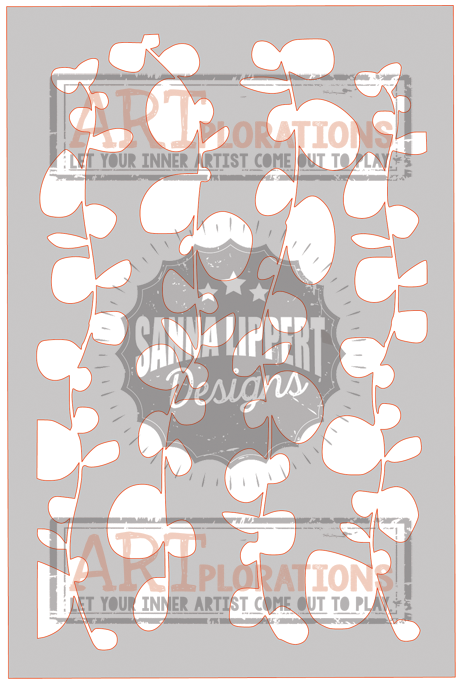
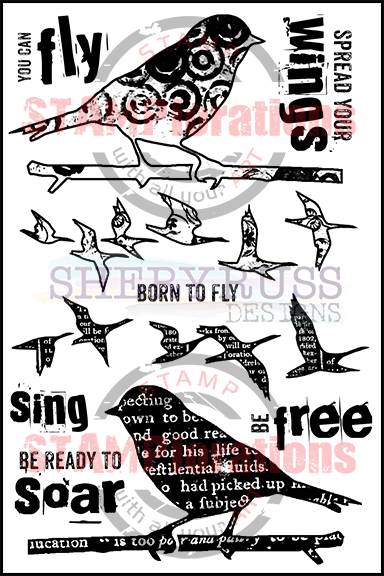
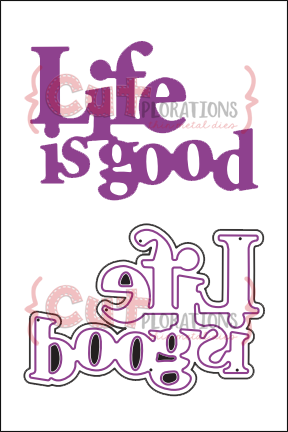
Vintage lace from my collection, stamps, stencil and die-cut all from STAMplorations:
Trendy Leaves - Shery Russ Designs
Trendy Birds 2 - Shery Russ Designs
Senecio 1 - ARTplorations Stencil - Sanna Lippert Designs
CUTploration phrase - Life is Good


Do check out my step by step on the STAMPlorations blog!

Thanks for coming by,
I am entering the SSS Wednesday, Penny Black and more challenges.


Thursday, 13 February 2020

All good things

For my second inspiration make for the Country View Challenge on the theme "Splatters, Splashes and Drips", I tried to save a failed design.


Originally, it had been stamped and stencilled with Distress Oxide inks and, when it didn't turn out as planned, I added Tim Holtz resist spray through a DIY stencil (Memory Box and Tim Holtz dies if I recall correctly). The reason I used die-cuts and not bought stencils is that the Resist spray will not clean up off of the stencil.

I applied Fresco paints in several layers and stamped with the hand writing from the Paper Artsy set HP1903 in Versamagic Eggplant and another image from the same set in black.

My focal point is a sentiment from the Paper Artsy HP1901 stamped with Versamark and embossed in white. The stamp already has some splatters on it but I felt duty bound to add mine. I tried flicking white paint with my Graphmaster acrylic paint and wow! it worked perfectly. Saved me on the hassle of getting a brush, water and paint and the clean up that follows...

All I can say is the end result is better than I started with, and I would love to know what you think....

Don't forget to enter our Country View Challenge for the chance to win a £20 voucher for the shop.

Thanks for coming by,
I am entering the The Artistic Stamper and Addicted to stamps challenges.

Monday, 10 February 2020

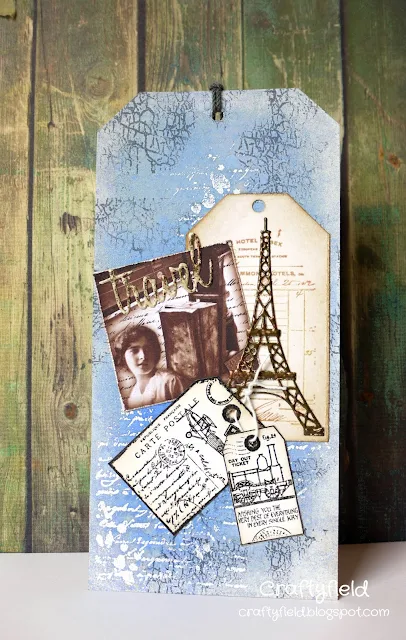
Vintage Travel Tag

The awful weather and sickness kept us at home all weekend and I managed to get some crafty play...


I made the background with Distress Oxides sprays in Antique Linen and Blueprint, overstamping with Crafty Individuals CI-436 Inky Script Background, embossed in white, and CI-116 Crackle in black.

The larger tag is an image by Rubber Dance and the Eiffel tower is Marianne Craftables Eiffel Tower CR1220 die. I die-cut it from metal and embossed it with a mix of embossing powders, a bronze and a copper. The Travel word from the Sizzix Thinlits  - Adventure Words set by Tim Holtz, also cut from metal and embossed with a mix of embossing powders.

The image is from the Life's Journey 2 sheet and the smaller tags are stamps from the CI-428 It's a man's world set, both by Crafty Individuals.


Thanks for coming by,
I am entering the SSS Monday, Lost Coast Designs, and Paperbabe challenges.

Saturday, 8 February 2020

Quality friend

The play on word is dubious but inoffensive, so I went ahead anyway and used that freebie stamp set for this thank you card:


I know it doesn't actually says "thank you" but it is implied....

The stamp set I used is from the Creative Stamping magazine (issue 57 from 2018) and I stamped the koala using pens, masking it before stamping the leaves. The sentiment is also from the same set.

I coloured the image with pencils and, voila, a koala-ty card...

Thanks for coming by,
I am entering the Penny Black and more, Uniko, and Craft Stamper TIMI challenges.

Saturday, 1 February 2020

Ye Olde Shoppe

Happy February crafters! We have a new challenge at Country View Challenge and Teresa chose "Splatters, Splashes and Drips" as the theme.

For my first inspiration piece I decided to use splatters to "paint" part of my picture.


I first stamped the Olde Shoppe by Picture This using Sepia Versafine ink and using masking fluid [1] and newspaper carefully masked the building.


Using a watercolour brush and a silicone tipped tool I created splatters of varying sizes and colours.


I let dry this first layer and then splattered some masking fluid to preserve some lighter or even white "pebbles".


I added a final wash of colour, this time with a brush to fill in the ground. The picture now looks like this:

Time to paint the rest of the house in watercolour and remove the masking fluid:

For the sign I used a pen with a small nib loaded with watercolour.

For good measure, I splattered some colour across the picture.


I hope you enjoyed this technique, you can also use it for shingles and poppy fields etc..
Don't forget to enter our Country View Challenge for the chance to win a £20 voucher to spend at the shop!

Thanks for coming by,
I am entering the SSS Wednesday, Allsorts challenge.

[1] I am using Schmincke White liquid frisket. I have found it to be less prone to tearing the paper when removing and seems to keep in good condition in the bottle for longer.