Saturday, 28 November 2020

Catch up shows

No, I haven't been struck by Covid 19, gone on holiday (I wish..) or got bored of blogging...

The reason for the lack of posts is that I have been busy with creating for last Wednesday Hochanda shows with That's Crafty featuring 13 Arts latest collections.
I was delighted to receive the Bella collection which ticks all my boxes with the distressed walls, romantic windows and doors from Italy.

I made 5 projects using lots of papers from the A6 postcard pad, 6"x6" and 12"x12" adding die-cut ephemera, chipboard shapes and acetate sheet. I also used some of the mediums and paints from the 13 Arts range.
First up a CAS card made with one of the postcard that I cut into each of its square motifs and added to an 8"x8" sheet of cardstock.


Then a scrapbook page, where I distressed and punched the edges of that beautiful paper to which I only added a few splatters with Metallic Color Glow in Ruby mixed with water. I also used that powerful powder to colour the Bellissima chipboard word but I am not sure if the photo renders the shine from the paint.... The "photo" is not mine but one of the postcard from the 13 Arts A6 Paper Pack.
For something different I made a bag with a single sheet of 12"x12", adding a pocket with a square cut from a foiled acetate sheet to put tags in, and a closure I made by sandwiching 2 Ephemera die-cuts around a paperclip
A mixed media tag where I used stencils and chipboard pieces with 13 Arts Gel medium, Ayeeda Pastel Mist and a dash of Splash! Ink Glitter (between the leaves).
And finally a simple mini album where I mostly used the postcards, without any cropping, as mats for photos. Each album page is a pocket so that additional tags, ephemera, photos etc.. can be added and I made a mini folder decorated with 6"x6" papers that can be pulled out. I will spare you all the individual photos, you can watch the slide show instead.


If you would like to know more about these makes don't hesitate to ask!

Thanks for cosming by,
I am entering the SSS Wednesday challenges.

Thursday, 19 November 2020

Dreamscape Journal page

This did NOT turn out as I intended... 

My journal page for our Country View Challenge, on the theme "Not a card",  was to be Vintage, soft colours, shabby chic... Somehow we ended up with this bright, colourful and fantasy scene. Go figure...

I started with a Gelatos background on Gesso'ed pages:


I then removed colour through stencils, above Fibres from Visible Image and Tim Holtz mini layering stencil set #43  below


Then I used the star stencil from the same TH set and the Strobes stencil by Visible Image to finish the background.

By now I was well on the way to a landscape, with strange colours, yes, but I could see river(s), sun and stars... I retrieved some stamps and set out to further that impression.

I stamped a forest with Lavinia's Tree scene set and some Dandelions.

The Moon and Mia the pushy fairy... I think she pushed the stars in a maelstrom...

And finally Mini Mushrooms, the Large Path and some foliage (Berry Leaves):


And to reward you if you have read so far... the finished page:


I do hope you like my page and will be inspired to enter the Country View Challenge. If you do, you might win a £20 voucher for the Country View Craft shop. And that ain't bad, is it!


Thanks for coming by,
I am entering the Allsorts challenge.

Sunday, 15 November 2020

Green & Red look a lot like Christmas

Mid month and it is time to inspire you to enter our STAMPlorations Theme & Photo prompt challenge! 


This time I went for the classic Christmas contrasting colour scheme of red and green.


For my background I used Distress inks to create my red base and stencilled with white pigment ink the Winter Flowers stencil recently released.

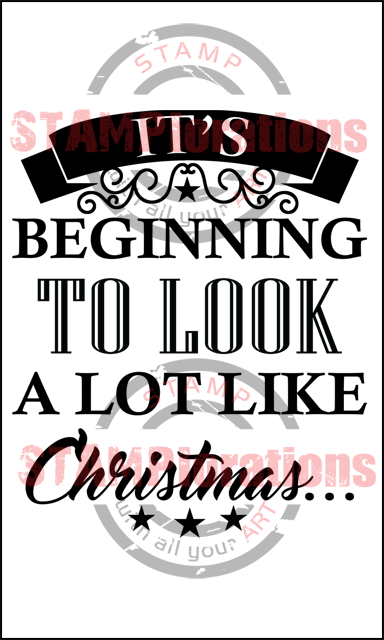
My focal point is the stamp Like Christmas embossed with WOW powder in Earthtone Olive on vellum. 


The STAMP girls are showing inspiration for all the challenges on the STAMPlorations blog so pop by and don't forget to comment along the way for a chance to win.

***
Whenever you shop for STAMPlorations products you can get 20% off with my code: STAMPGIRLCRAFTY


***

Thanks for coming by,
I am entering the Lost Coast challenge.
   

Sunday, 8 November 2020

X-mas Tag-a-thon 2020 edition


Well, I don't know where the time goes... I should have more on my hands since this week's lockdown but no, the days just seem to evaporate without much being achieved.
Still I managed to ink up this lovely stamp  (CI- 503) by Crafty Individuals and made a set of tags. In fact -for the benefit of Vintage Journey- a TRIO of PAIRS (see what I did there...) .

First up, basic stamping with black ink, I used Memento on the left and Versafine on the right and the Versafine is really a better image although a touch too dark because my pad is still new and very juicy:


 Next, I used Versafine in Pinecone and Shady Lane on kraft coloured cardstock and embossed the sentiment in white. 


 Finally, my favourite look, the multi-coloured stamping. I won't lie, this took me ages to stamp and halfway through I was regretting it, but to me it shows off the details of the stamp beautifully. I used water based markers and Indian ink markers (Faber Castell Big Brush) to ink the stamps. 


  After my first stamping,  I spritzed the stamps with water to see if I could get another print and got this pleasing result on smooth watercolour card: 

I have been toying with the idea of doing another batch and adding colour with either pencils or markers but it will keep for another session. In the meantime, I need to create a pocket for these tags so I can gift them. Any suggestions gratefully received!

Thanks for coming by,
I am also entering the SSS Monday, Allsorts,  and We Love Chocolate Baroque challenges.

Sunday, 1 November 2020

Clean and simple World


Today we are kicking of new challenges at STAMPlorations, mine is the Theme and Photo Prompt which is:

I chose to follow the Black & White colour scheme of the photo prompt as it also happens to be the starkest of colour contrasts.
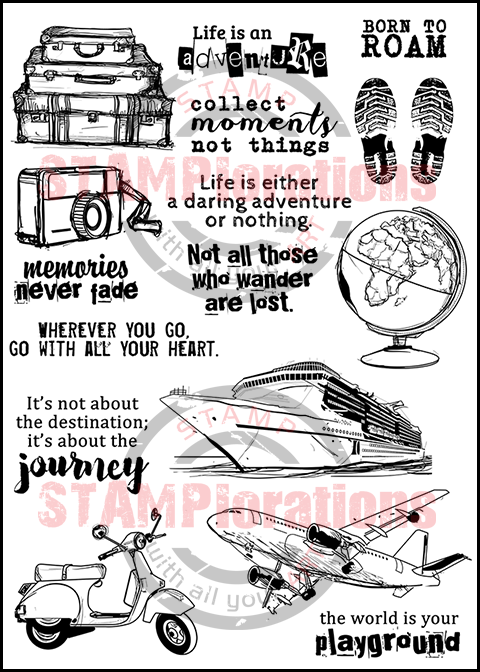
I built up the image with several stamps from Art Marks, Art is and Born to Roam sets, using Black Versafine for the best detail. 

And... well that's it really, couldn't be simpler!

The STAMP girls are showing inspiration on the STAMPlorations blog so pop by and don't forget to enter our Theme and Photo Prompt challenge.

***
Whenever you shop for STAMPlorations products you can get 20% off with my code: STAMPGIRLCRAFTY

***

Thanks for coming by,
I am entering the SSS Wednesday challenges.


Experiment in foiling

Only a few weeks to go before Christmas! You must all be fed up with making cards, no? 
Well, if you are, relax, our Country View Challenge, which this month is hosted by Jane, is "Not a card". 


I created a Masterboard with Fresco paints and stamped motifs from two Paper Artsy sets (ELB33, EEV06).
I had in mind testing hot foiling with stamped images and used 2 techniques on my Masterboard. The leaves were embossed with Frosted Crystal EP (Ranger Antiquities) and the wheat grass and has been stamped with gel medium before foiling.

These 2 techniques,  EP+foiling and stamped gel medium+foiling give VERY different results....


On the left before foiling, the stamped image have a lot of detail but after foiling the one that has been embossed is almost a solid image whilst the wheatgrass and leaf stamped with gel medium is barely visible.

So there you are both methods tested for you... 
If you want a better result, fear not as Country View Crafts is now stocking the latest tools from Heidi Swapp to stamp/write & foil
 

Over to you now, have a look at what the DT made on the Country View Challenge blog and link up your project to the challenge for the chance to win a £20 voucher for the Country View Craft shop.

Thanks for coming by,
I am entering the SSS Wednesday and Paperbabe challenges.

Friday, 23 October 2020

7th Anniversary Day 5 Targeted

Today is the last day of our STAMPlorations 7th Birthday Celebrations 


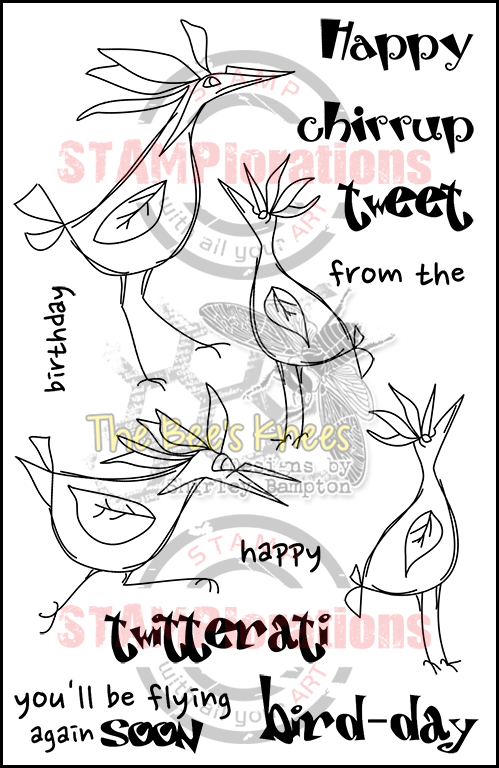
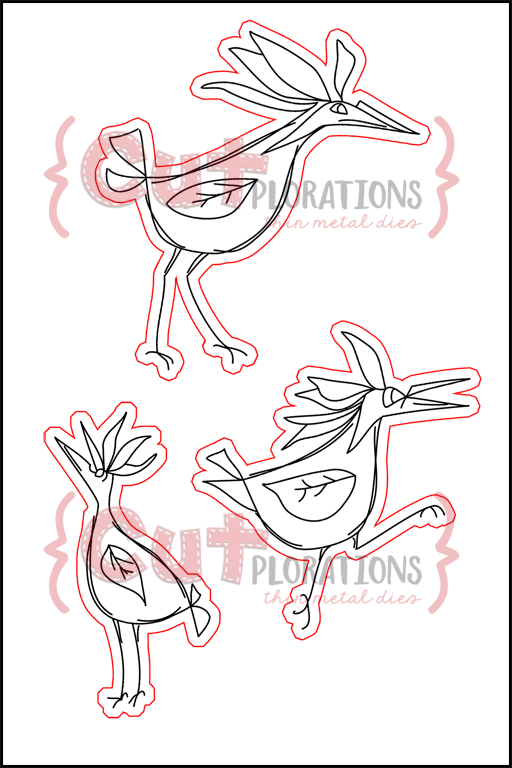
I wanted to use the newly released Circles Flexi-Template and couldn't get this picture of a target out of my mind. With Thanksgiving around the corner I thought of these poor birds being lined up for dinner...

And, if you are follower of my blog, you will have noticed I love my Birds of Paradise, which I find so easy to place in humorous situations. (check this one out, it still makes me smile!)


To make it easy for myself I sprayed the back of the templates with temporary adhesive and pieces of washi tape on the front to keep them together for placement.
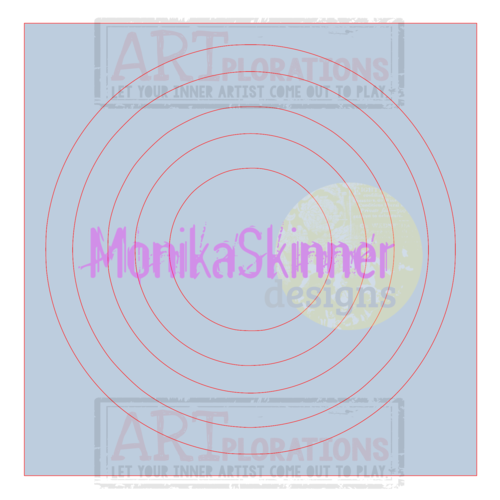
I first took out the largest ring and used blue ink through the space. I then cleaned the stencil, leaving it in place and replaced the circle on top of the blue ink.


Then I took the next but one ring out and used red ink:


Again I cleaned the stencil before replacing the ring and inking through the last circle with blue.   
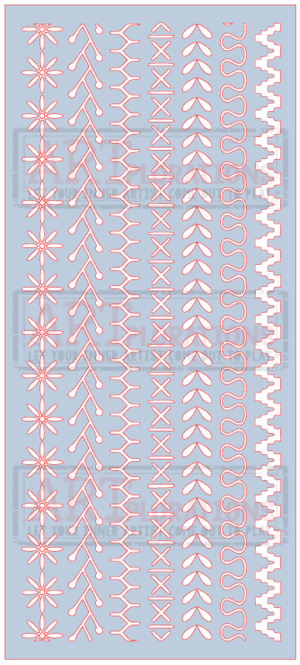
The border is stencilled with the new ARTplorations Slimline stencil Stitchings and Carved Pumpkin Distress inks. Yes our bird has been properly stitched up!


The STAMP girls are showing their makes on the STAMPlorations blog so pop by and don't forget to comment along the way for a chance to win (before the 8th of November)!

***
Whenever you shop for STAMPlorations products you can get 20% off with my code: STAMPGIRLCRAFTY 
AND during the Anniversary all orders placed with my code will include this not-yet-released stencil, Just Plaid square stencil (10 mil):

***

I hope you have enjoyed all the inspiration and new products the STAMP girls showed all week! Maybe you will also join the Linky parties under way...

As always, thanks for visiting,


Thursday, 22 October 2020

7th Anniversary Day 4 Fall Leaves

Welcome to Day 4 of our STAMPlorations Birthday's celebrations !


The russets, yellows and brown of Autumn go so well with gold that I wanted to add some foiling in my make. One of the easiest way is with a stencil, some acrylic medium (this can be matte or gloss) foil and either a foiling machine or a laminator.


 I started with a manilla tag and applied  Fresco paints (Paper Artsy) roughly to the tag, spreading with a brayer. I then applied paints through the Leaf Prints 3 stencil and layered some acrylic medium on top here and there for the foiling process.

To foil I just sandwich the foil and the tag in a folded piece of paper, and run it through the laminator.

For my focal point, I stamped some leaves from the Trendy Leaves set inked with several colours of dye inks and fussy cut them. I shaped them and popped them on foam pads to add dimension and placed them on a piece of doily. 

Finally I added a Dymo label and a Nuvo Drop finish. 

A closer look at the shine from the foil...


***
The STAMP girls are showing inspiration for all the challenges on the STAMPlorations blog so pop by and don't forget to comment along the way for a chance to win (before the 8th of November)!

***
Whenever you shop for STAMPlorations products you can get 20% off with my code: STAMPGIRLCRAFTY 
AND during the Anniversary all orders placed with my code will include this not-yet-released stencil, Just Plaid square stencil (10 mil):

***


Thanks for coming by,