Sunday, 22 March 2020

No joke

Just as the rest of my life has come to a sudden halt, crafting time is picking up the slack and I have a birthday card to show you today.

Funny in a sarcastic way and possibly offensive (choose your recipients carefully!)...

 
Top and bottom: Distress Oxide inks through 2 of the stencils from the Stampers Anonymous/Tim Holtz Mini Stencil Set #35.
Sentiment: A Snarky Birthday to You by STAMPlorations
Designer paper: freebie from a magazine (very old)
Dies used (beneath the sentiment): MFT Die-namics Blueprints #13

Hope I brought you a smile in these unhappy times,

I am entering the Time Out, Addicted to stamps and SSS Monday challenges.

Friday, 20 March 2020

Stencil resist technique

Today I am showing a resist technique with stencils on the STAMPlorations blog.


So, hop on over to the STAMPLorations blog to read up all the details!


Thanks for coming by,
I am entering the SSS Monday challenge.

Sunday, 15 March 2020

Roses are pink

Mid month already and time for  second dose of inspiration for our March Stamplorations Theme and Photo Prompt challenge


You can choose to follow either the theme or the sketch, and, of course both, for the chance to win a prize! If you'd like to be considered for the prizes, please make sure you're linking back to the challenge post and displaying the challenge graphic.

For my second make, I followed the theme and used the pink colour from the photo prompt.
I used the stamps from the Wooded stamp set. It has wonderful buds, leaves and stems to build up a plant of your own, as well as some "tree making bits" that I haven't used here.


I stamped all the motifs without masking but did some careful inking to get to the design you see. My stamping platform also came in handy, either to deepen colour or add ink where it was missing.

I coloured the roses with alcohol pen.

I die-cut the focal image and the card base with the Crazy Double Running Stitch Rectangle Nesting Dies and sandwiched a pink mat in between.

The STAMP girls are showing inspiration for all the challenges on the STAMPlorations blog so pop by and don't forget to enter our Theme and Photo Prompt challenge.

***
Whenever you shop for STAMPlorations products you can get 20% off with my code: STAMPGIRLCRAFTY
***

Thanks for coming by,
I am entering the SSS WednesdayCraft stamper TIMI, Penny Black and more, Stamping Sensations, Addicted to Stamps challenges.
   

Wednesday, 11 March 2020

Her gaze

Today I'm showing my second inspiration make for the Country View Challenge on the theme "The eyes have it", chosen by my teammate Jane.


This is a project that took months to conceive but eventually came to fruition in a weekend... I had bought this Stamperia rice paper, not for a specific project, but because I fell in love with it and had to have it.  Of course the problem was, I didn't want to lose a single piece of it or obscure it in anyway, which  made it difficult to use it in a creative way.

So I went big... 12"x12" to be exact and the paper being A4 (21x29.7cms- approximately 8"1/4x11"1/5) I had some white space to add my own marks...
After months of creative drought I suddenly got excited to play with stamps, inks etc.. to create a a layout in the Vintage style that I favour.

 First, I divided the rice paper in 3 pieces, keeping the bottom left corner for another project and glued it in place with Mod podge. This paper is more sturdy than classic tissue paper and I was able to adhere the paper without wrinkles, although you may want to in order to have a more grungy look!

I gave a top coat of matt glaze to be sure the paper would be protected from any wet medium I might decide to add later...

I applied colour to the rest of the cardstock to blend it with the rice paper. No particular reason for my choice of medium apart from the fact that I wanted to avoid acrylic paints (it limits the choice of inks when stamping) and overly wet mediums.

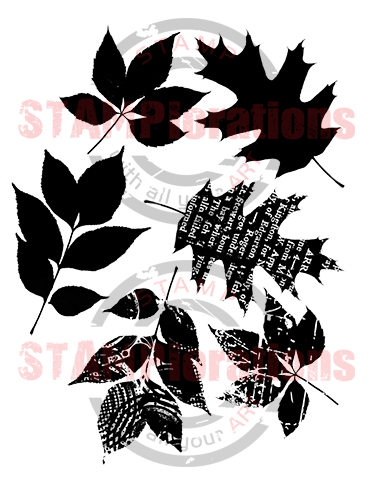
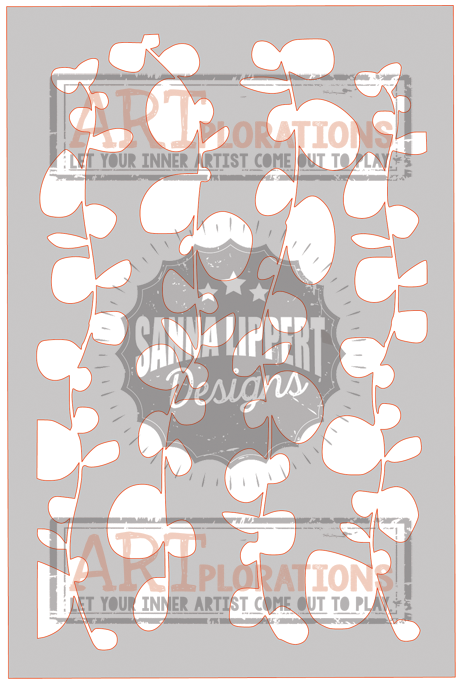
Next I wanted to use my new Stamperia stencil, 
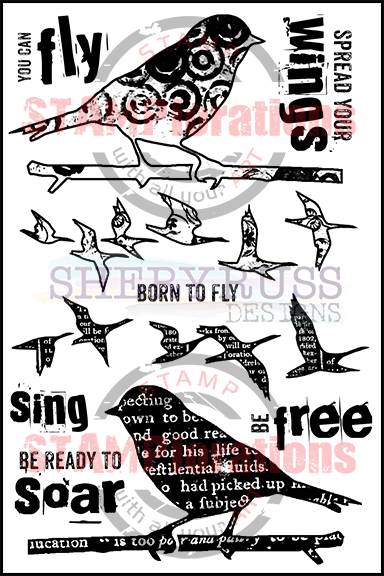
Wallpaper Fantasy and new stamp set - Enjoy to add interest to that (almost) virgin space.
I also used a texture stamp from Prima/Finnabair and although mine is from an older collection, you will find 15 different textures stamps from the Prima/Finnabair collection on the Country View Craft site, here.

With the stencil I used inks bottom left and gloss medium at the top of my layout, which I later foiled.

Next, with all the "messy" stuff finished I pulled out my Martha Stewart punches. They are probably seen as old school but unless you're the lucky owner of a Big Shot Pro, you cannot die-cut a 12"x12" page and punches are still the only way... Plus, I haven't used them very much, and they should earn their rather expensive real estate in my craft "room".

Once I had punched my corners and borders, I added more inks to blend the margins and distressed them too.
This particular corner isn't a PATP but a corner + unrelated border, which I have found a way to use together satisfactorily.

I then put together my focal point with a photo from an ephemera pack by Prima. The young girl and the woman had the same unyielding look in their eyes, which I thought perfect for our theme!

And now for the reveal....


I do hope you will like my page and join us in the Country View Challenge this month. As usual there is a £20 voucher to be won...

Do let me know in your comments if you have a lot of MS punches and how often you use them these days.
Thanks for coming by,
I am entering the SSS Monday (not a lot of green but a bit…), Vintage Journey and SSS Wednesday challenges.

Sunday, 8 March 2020

Women's day

Well just in time to celebrate women…

I think of this one as both strong and feminine, and why shouldn't she?!


The image is by Lost Coast Design, stencilled flowers from the Tim Holtz Mini Stencil Set THMST010 and the die-cut word is from TH Sizzix Thinlits Vacation words.

Thanks for coming by,
I am entering the SSS Monday, SSS Wednesday, Allsorts, Paperbabe, and Craft stamper challenges.

Sunday, 1 March 2020

Wild Nature

Hello faithful followers and crafters, Time for our March


You can choose to follow either the theme or the sketch, and of course both, for the chance to win a prize! If you'd like to be considered for the prizes, please make sure you're linking back to the challenge post and displaying the challenge graphic.

I followed the theme and created a wild meadow with the Healing Herbs stamp set.


First I stamped and embossed one of the stems with green embossing powder.


Then I embossed in yellow the next image by mixing the 2 powders directly on the stamped  Versamark.


Next, since I didn't have a light green EP, I used Distress Oxides to stamp and embossed in WOW Skinny Chai Latte. The last sprigs are stamped and embossed in vanilla white (they will show up in the next step).


With all the embossing done and my grasses effectively protected, I sprinkled some Brushos powders on the background and sprayed water lightly until I was happy with the look. (I was aiming for sky and field colours).

I used the Crazy Double Running Stitch Rectangle die set to cut the card and matted it on a blue card base.

I liked it as it was so I added the smallest piece of cardstock for my sentiment from the Fond Expressions 2 set, stamped and embossed on vellum.

***
Whenever you shop for STAMPlorations products you can get 20% off with my code: STAMPGIRLCRAFTY
***
For more inspiration hop on over to the Stamplorations blog, you have a whole month to create something for the challenge and be in with a chance to win a prize…

Thanks for coming by,
I am entering the SSS Wednesday,  challenges.
     

Eye Eye

Welcome to March and our new Country View Challenge! The theme, chosen by the lovely Jane is "The eyes have it" and your project needs to feature eyes in a prominent way to qualify for the prize.

I went with the obvious and I think we will see many makes with this popular Visible Image stamp (Where dreams take you).


Using Versafine Clair in Pine Cone I first stamped the eye on my Gelli plate, took the print immediately and then stamped the second eye without re-inking.

To give a bit of background I used Distress Inks and a stencil (Fibres also Visible Image and also very popular).

I finished by stamping the sentiment, from the same set, separating the first line from the other two to keep the wide format.

For more inspiration  have a look at what my DT mates have created on the theme, and join us in our March challenge for the chance to win a £ 20 voucher.

Thanks for coming by,
I am entering the SSS Wednesday challenge.

Friday, 21 February 2020

Gelli Printing with inks

Today I am showing a Gelli Print technique on the STAMPlorations blog. It doesn't use acrylic paints and is a lot more controllable as a result, it also works in transparent layers, unlike paints, which are usually opaque.

I made the background of this tag and a few others with this technique.


Vintage lace from my collection, stamps, stencil and die-cut all from STAMplorations:
Trendy Leaves - Shery Russ Designs
Trendy Birds 2 - Shery Russ Designs
Senecio 1 - ARTplorations Stencil - Sanna Lippert Designs
CUTploration phrase - Life is Good


Do check out my step by step on the STAMPlorations blog!

Thanks for coming by,
I am entering the SSS Wednesday, Penny Black and more challenges.


Thursday, 13 February 2020

All good things

For my second inspiration make for the Country View Challenge on the theme "Splatters, Splashes and Drips", I tried to save a failed design.


Originally, it had been stamped and stencilled with Distress Oxide inks and, when it didn't turn out as planned, I added Tim Holtz resist spray through a DIY stencil (Memory Box and Tim Holtz dies if I recall correctly). The reason I used die-cuts and not bought stencils is that the Resist spray will not clean up off of the stencil.

I applied Fresco paints in several layers and stamped with the hand writing from the Paper Artsy set HP1903 in Versamagic Eggplant and another image from the same set in black.

My focal point is a sentiment from the Paper Artsy HP1901 stamped with Versamark and embossed in white. The stamp already has some splatters on it but I felt duty bound to add mine. I tried flicking white paint with my Graphmaster acrylic paint and wow! it worked perfectly. Saved me on the hassle of getting a brush, water and paint and the clean up that follows...

All I can say is the end result is better than I started with, and I would love to know what you think....

Don't forget to enter our Country View Challenge for the chance to win a £20 voucher for the shop.

Thanks for coming by,
I am entering the The Artistic Stamper and Addicted to stamps challenges.

Monday, 10 February 2020

Vintage Travel Tag

The awful weather and sickness kept us at home all weekend and I managed to get some crafty play...


I made the background with Distress Oxides sprays in Antique Linen and Blueprint, overstamping with Crafty Individuals CI-436 Inky Script Background, embossed in white, and CI-116 Crackle in black.

The larger tag is an image by Rubber Dance and the Eiffel tower is Marianne Craftables Eiffel Tower CR1220 die. I die-cut it from metal and embossed it with a mix of embossing powders, a bronze and a copper. The Travel word from the Sizzix Thinlits  - Adventure Words set by Tim Holtz, also cut from metal and embossed with a mix of embossing powders.

The image is from the Life's Journey 2 sheet and the smaller tags are stamps from the CI-428 It's a man's world set, both by Crafty Individuals.


Thanks for coming by,
I am entering the SSS Monday, Lost Coast Designs, and Paperbabe challenges.

Saturday, 8 February 2020

Quality friend

The play on word is dubious but inoffensive, so I went ahead anyway and used that freebie stamp set for this thank you card:


I know it doesn't actually says "thank you" but it is implied....

The stamp set I used is from the Creative Stamping magazine (issue 57 from 2018) and I stamped the koala using pens, masking it before stamping the leaves. The sentiment is also from the same set.

I coloured the image with pencils and, voila, a koala-ty card...

Thanks for coming by,
I am entering the Penny Black and more, Uniko, and Craft Stamper TIMI challenges.

Saturday, 1 February 2020

Ye Olde Shoppe

Happy February crafters! We have a new challenge at Country View Challenge and Teresa chose "Splatters, Splashes and Drips" as the theme.

For my first inspiration piece I decided to use splatters to "paint" part of my picture.


I first stamped the Olde Shoppe by Picture This using Sepia Versafine ink and using masking fluid [1] and newspaper carefully masked the building.


Using a watercolour brush and a silicone tipped tool I created splatters of varying sizes and colours.


I let dry this first layer and then splattered some masking fluid to preserve some lighter or even white "pebbles".


I added a final wash of colour, this time with a brush to fill in the ground. The picture now looks like this:

Time to paint the rest of the house in watercolour and remove the masking fluid:

For the sign I used a pen with a small nib loaded with watercolour.

For good measure, I splattered some colour across the picture.


I hope you enjoyed this technique, you can also use it for shingles and poppy fields etc..
Don't forget to enter our Country View Challenge for the chance to win a £20 voucher to spend at the shop!

Thanks for coming by,
I am entering the SSS Wednesday, Allsorts challenge.

[1] I am using Schmincke White liquid frisket. I have found it to be less prone to tearing the paper when removing and seems to keep in good condition in the bottle for longer.