Wednesday, 20 November 2019

Chocolate box Christmas

For those of you who came for the chocolate, apologies… I am only talking about to the picture on the box! Today's offering is a Christmas card which I had great fun creating.


I wanted a brightly coloured night sky, a bit "Northern Lights" and used a mix of Brushos and Infusions (Violet storms) to create it, adding shimmer splatters for stars.

I used paper masks and masking fluid to protect the hills and the stamped cottage before applying the powders.

The small trees on the hill are from Lavinia (Tree Scene set) and both Cottage (CI-460 Build a Landscape) and foreground tree (CI-209 Winter Trees) are from Crafty Individuals, stamped in black Memento ink.

I added watercolour in the foreground for snow and acrylic paint for the snow on the trees and roof.

Let me know what you think...
I am entering the Penny Black and morePolkadoodles, Paperbabe, Craft Stamper TIMI, Unikostudio, Addicted to stamps and SSS Wednesday  challenges.

Friday, 15 November 2019

A crown of leaves

Today I have a second piece to inspire you to enter our STAMPlorations Theme & Photo Prompt challenge.


  You can link any makes, not just cards, as long as you include some stamping and follow either the theme or the photo inspiration (or both for even more of a challenge!)
 
I followed the theme and made a Thanksgiving card.


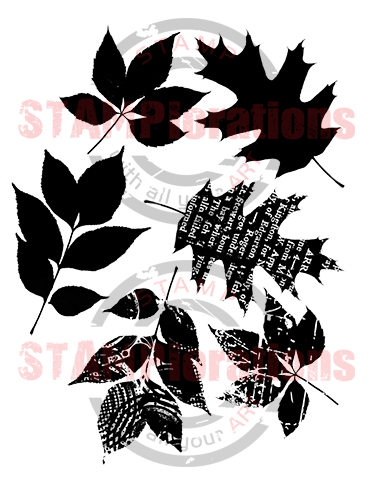
I inked the leaves stamps from the Trendy Leaves set with the Autumn Leaves  Kaleidacolor inkpad and fussy cut them.
I layered them in a circle on a doily I sprayed with Distress Oxide spray in Blueprint.
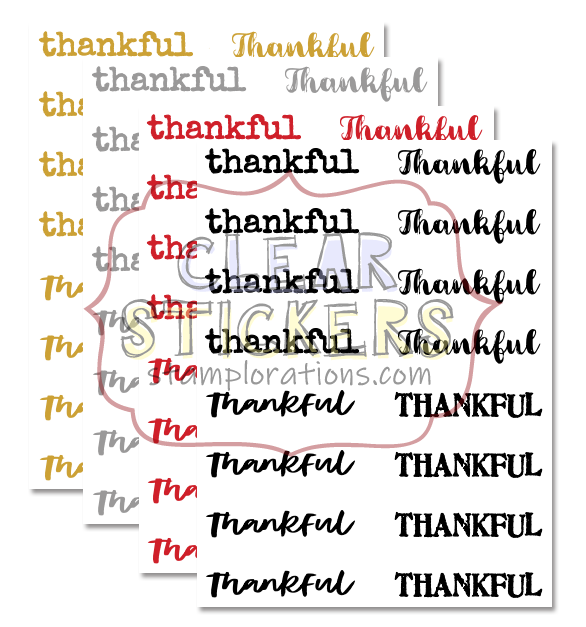
I placed the sentiment, a sticker from the Just Thankful clear sticker set,  on a other circle to finish.

I hope you like my card and will play with us in the Theme & Photo Prompt challenge this month. As always, there are prizes to win and you still have 2 weeks to enter...

***
And don't forget, whenever  you shop for STAMPlorations products you can get 20% off with my code: STAMPGIRLCRAFTY
***

Thanks for coming by,
I am entering the Casology and  SSS Wednesday challenges.
   

Sunday, 3 November 2019

Mysticism

Already time for my second inspiration post for the Country View Challenge, where the theme, chosen by yours truly, is Hands Stamped.

Today I have a Journal page for you, which is loosely based on Halloween. I know, I know it's already happened but it was still in the future when I was making it. I assemble images relating to Astronomy, dark woods, a full moon, incantations and a black cat in what I hope is a Journal page with a foreboding atmosphere.


As a base for my page is a scrapbook paper which I darkened at the edges with Distress Oxides. I also used some Distress spray in Blueprint at the centre for colour variation.


For the moon I used Gesso and stamped and embossed the moon image from the Paper Artsy set HP1903.

I stamped and embossed in white the other 2 large stamps and the hand written note in black ink on a hand made paper piece pretending to be vellum (the olden times vellum, not our crafter's translucent stuff!)


I partially stamped the tree image, a large square background stamp from Impression Obsession, and the cat (a Craft Stamper magazine freebie) in black ink. I anchored the cat with a dark grey pastel stick.


I created a sort of milky way with white pastel which I brought around the cat for a bit of mystery and into the trees as menacing fog. To finish I added stars with white Gesso (if it looks blue it's because the Gesso picked up the blue dye from the Distress Oxide spray) and some iridescent splatters.

All a bit odd maybe, but I thoroughly enjoyed pulling together these stamps from my stash and all in all I quite like the page!

Over to you now to create something with stamps for our Country View Challenge. I am curious to see the stamps in your stash or failing that your carved vegetables and found objects … you use in your makes to make an impression..

Thanks for coming by,
I am entering the SSS Monday, SSS Wednesday, Creative Artist, Craft Stamper TIMI, The Artistic Stamper challenges.

Friday, 1 November 2019

Bird's Nest

Today STAMPlorations are kicking off a new Theme & Photo Prompt challenge!
You can link any makes, not just cards, as long as you include some stamping and follow either the theme or the photo inspiration (or both for even more of a challenge!)


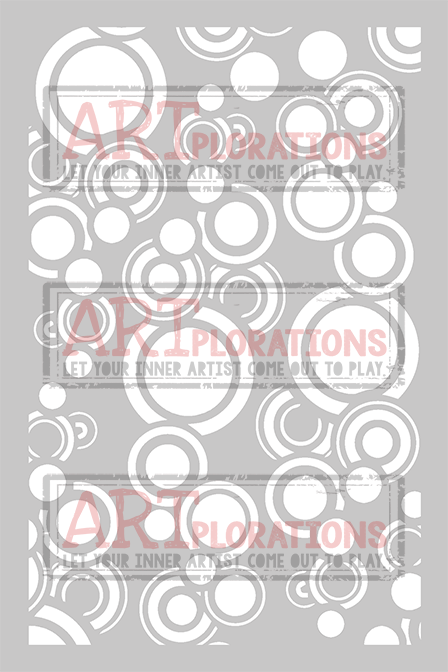
I was inspired by one of my favourite ARTplorations stencils, the Retro Circles and used it with both standard gel medium and crackle medium on a vanilla tag to create a background.


I applied colour with Brushos in Moss green and Purple as well as some Rusty Car Infusion (Paper Artsy). The crackled circles trap the crystals and concentrate the colours whilst the standard gel medium creates an effective resist.

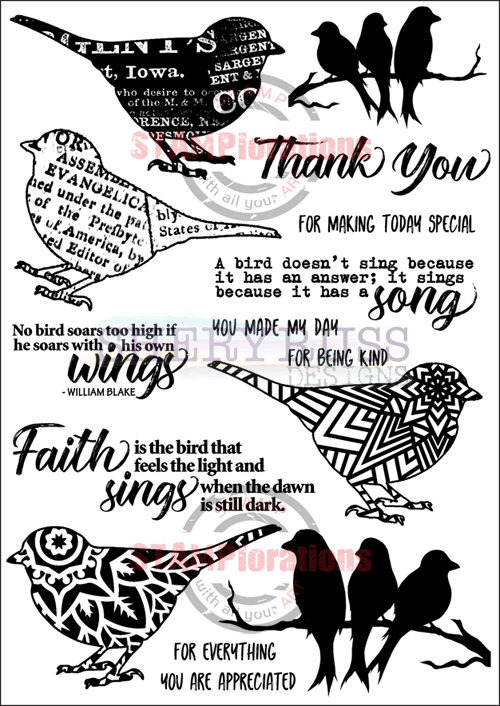
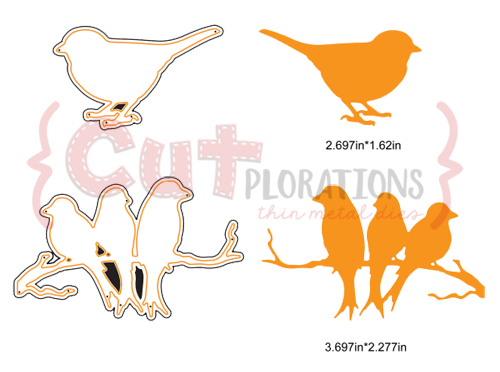
My focal point is a bird from the For the Birds stamp set stamped with Blue Versafine Clair on coloured paper. I placed in on a mat with wrapped "wool". Top left,  I added the other die-cut birds from the Matching For the Birds CUTplorations set and bottom right a sentiment from the same stamp set.

Your turn to create something with 3 colours or less and/or following our photo inspiration. There are prizes to be won... a $15 gift certificate to the winner and $10 to the runner up chosen by a DT member as well as a $5 gift certificate each to three randomly drawn players.
***
And don't forget, whenever  you shop for STAMPlorations products you can get 20% off with my code: STAMPGIRLCRAFTY
***

Thanks for coming by,
I am entering the Craft Stamper and SSS Wednesday challenges.
     

Book cover Vintage motifs

This month I have the pleasure and responsibility of choosing the Country View Challenge Theme. My choice will come as no surprise to my faithful readers...

Thinking of all the tools in my craft stash from stencils, dies, paper and moulds, although I love and use them all, my number one crafting items are stamps. Yep, a true stamp-a-holic…
Obviously this led me to choose "Hand Stamped" as the theme!

My inspiration piece is a book cover that went through a make over with the help of paints and stamps.


First I gessoed and applied a first coat of Deco Art paint in Buff as a base.

Next, I painted thin layers of paints in Cyan, Quinacridone Violet and Blue Green Light.
I let that dry and stamped Crafty Individuals Baroque Splatter with Violet Archival ink.

Before strengthening the colours I stamped more images, this time with black Archival as I knew some of the starkness of that ink would be softened by subsequent layers of paints. The stamps are from Stampendous, designed by Andy Skinner.

Several washes of paints later.... By now I was happy with the depth of colour but sadly my Baroque motifs were nearly invisible! I stamped again, without putting on too much pressure this time since this will be my last layer.
To finish my stamping, I used Turquoise, Grey and Violet Archival inks, mixing colours direct on the stamp. (Hero Arts/Basic Grey - Luscious Ledger stamp).

And just as I have done you can carry on adding paints and stamps, layers after layers until you reach the look you are after!

A close up for you :


I hope you will join us in stamping this month at Country View Challenges and if you do you could win £20 to spend on... stamps (or any other crafty supplies) that take your fancy!

Thanks for coming by,
I am entering the Allsorts, SSS Wednesday challenges.

Tuesday, 15 October 2019

Just as you are

Have you entered the STAMPLorations Theme & Photo Prompt Challenge yet? Only 2 weeks to go,  but I am here today to show you how I used the October Theme &  Photo Prompt. 


For my second make I took my inspiration from the plants in the photo, whilst still using only 3 colours (you can add white, black, and other neutral tones such as beige, ivory, greys …)


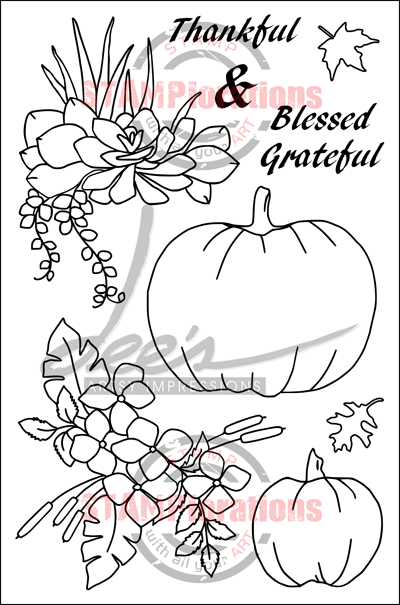
The image is a bit more colourful than I intended but this is due to my choice of colouring medium. I love stamping in colour so I had decided to do just that with the succulent image from Thankful & Blessed and used some Ecoline markers to ink my stamp.

I had never used them in this way before and they are so much more vibrant than pans or tubes watercolour, that there was enough colour in the line stamping to colour the leaves (without adding more). Now I'll know for next time...

I created a mask and used my stamping platform to get the right colours and sections of the stamp to print.

Then I used a water brush to tease out the colour from the stamped lines and colour the image. I added washes of colour around the image by picking up the colour with the brush from an acrylic bloc scribbled with the pens.

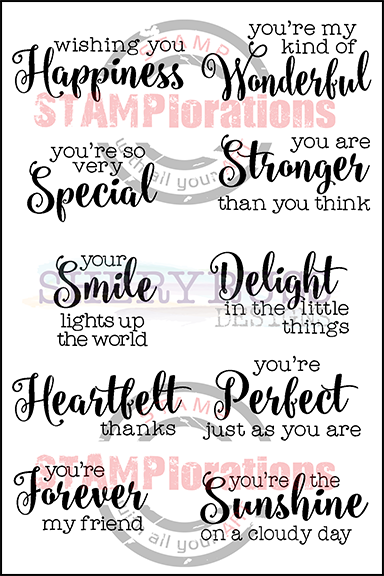
I added the sentiment from the Fond Expressions 2 stamped in Versafine Onyx black.

Your turn to create something with 3 colours or less and/or following our photo inspiration. There are prizes to be won... a $15 gift certificate to the winner and $10 to the runner up chosen by a DT member as well as a $5 gift certificate each to three randomly drawn players.

***
And don't forget, whenever  you shop for STAMPlorations products you can get 20% off with my code: STAMPGIRLCRAFTY
***

Thanks for coming by,
I am entering the Craft Stamper challenge.


Friday, 11 October 2019

Autumn morning (bis)

Today is my second inspiration post for our Country View Challenge where the theme is Bokeh.
 
And yes, as the title suggest, another morning... although this one is very abstract,
so it really is up to you what you see in my make!


I have no step by step because I had no idea where I was going with the piece of cardstock I started with. I applied some Fresco paints in Butter, Pumpkin Soup, South Pacific, Blue Oyster and Claret. I did this in several layers until I was happy with the result.
I then used a DIY stencil and a foam sponge to apply gesso for the Bokeh effect, and here too I had to apply several coats to get the circles to stand out.

I added some stamping with the Paper Artsy set ELB33, the dotty border and corner with Distress Oxide in Denim and the wheat in Versafine Clair Pinecone. Neither of these inks dried on the acrylic paint and  I hastily embossed with clear EP.

I stamped the sentiment from the same set with Black Versafine and embossed with Wow! Chai Latte  EP, which has a subtle sheen and slight opacity.
 
I hope you like my make and will play with us at Country View Challenges, there's a £20 voucher to win...

Happy weekend!
I am entering the Addicted to Stamps, Bleeding Art, Craft Stamper, We Love To Create,  Creative Artist challenges.

Tuesday, 1 October 2019

Back and rebooted!

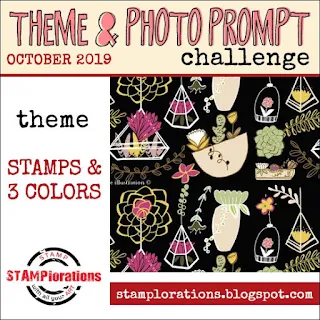
Today starts a new term at STAMPLorations and the old Theme & Sketch challenge has now evolved into the Theme & Photo prompt challenge.

https://stamplorations.blogspot.com/2019/10/october-challenge.html


In this card I tried to replicate the photo inspiration's stark contrast of the black background with the colours of the motifs, by using an emboss resist technique.


First I applied Distress inks on the lower half of my card and through the Retro Circles Stencil on the upper half.

Then I stamped and embossed with clear powder 4 of the images from the For the Birds set.

Next comes the scary stage... I took a Memento Black inkpad and "smooshed" it directly on the card. I chose this method rather than paint and brush to avoid getting the cardstock too wet.

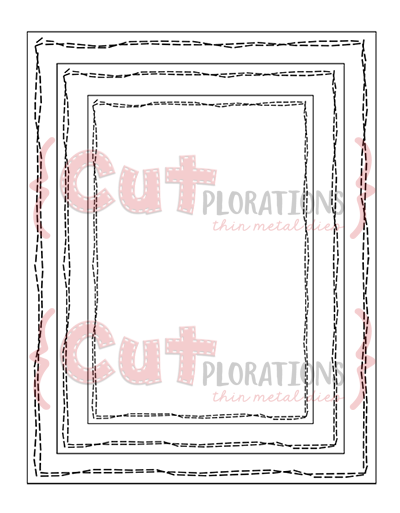
Taking a cloth I rubbed over the embossed areas to reveal the image underneath. The ink also picked out the detail of the embossing from the Crazy Double Running Stitch Rectangle Nesting Die, giving a distressed effect I liked.

I added a sticker sentiment from the Shine Bright set and voila, my finished card:


Your turn to create something with 3 colours or less and/or following our photo inspiration. There are prizes to be won... a $15 gift certificate to the winner and $10 to the runner up chosen by a DT member as well as a $5 gift certificate each to three randomly drawn players.

***
And don't forget, whenever  you shop for STAMPlorations products you can get 20% off with my code: STAMPGIRLCRAFTY
***
Thanks for coming by,


I am entering the SSS Wednesday challenge.


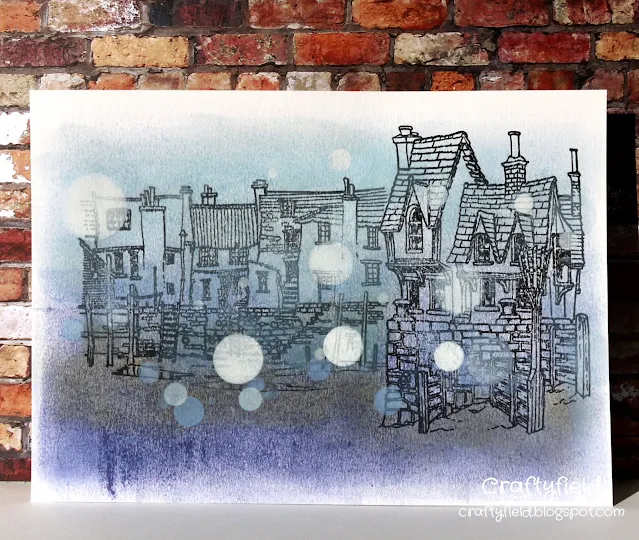
Foggy morning

Welcome to my first inspiration post for Country View Challenges. The theme this month, chosen by the lovely Sue, is Bokeh.

Bokeh effect with stamps by Picture This

The effect I was after was a foggy early morning. I used Picture this stamps to build my port scene (Fisherman's wharf and Captain's Cottages) at low tide an used both Distress Oxide and classic Distress inks to colour the scene. The D.O being slightly opaque allowed me to push the houses further into the background whilst the looks closer.

For the Bokeh effect, I stencilled circles with Distress Oxide in white pigment ink and Gesso .

I do hope you will join us at Country View Challenges this month, I can't wait to see your makes with Bokeh! Plus, there's a £20 voucher to win...

Thanks for coming by,
I am entering the SSS Wednesday challenge.

Friday, 27 September 2019

CAS Christmas card design

This is my second inspiration post of the day both for my Crafts U Love, and I have another Christmas card with a design suitable for mass making .


Using the largest thin frames of the Julie Hickey Frame & Banner set I die-cut a piece of black and a piece of white cardstock. For this card I used the black frame and the "inside" of the die-cut white card. Like my previous design, the leftover can be used for another card in reverse colours, avoiding waste and saving time!

From the Boughs of Holly Wreath I die-cut and embossed the bow and die-cut the small wreath.

You can add the date and sentiment with either dies, stamps or stickers and, if you are addicted to Nuvo Drops as I now am, as many drops as you wish or have time for....  The holly berries holes in the die-cut wreath are crying out for Nuvo drops, I think!

Supplies:

Tonic Studios Essentials Die Set - Boughs of Holly Wreath
Studio Light A6 Paper Pad - No.119
Julie Hickey Designs Layers, Frames & Banners Die Set - Rectangle
Tonic Studios Nuvo Stone Drops - Gold Rush


Should you purchase any of the products I have used on this card, select  'Design Team'  in the 'where have you seen us' drop down so we know we have inspired you!

 
There you have it, a simple fairly quick and easy to mass produce design, with a very classic feel. If you missed my first post you will find it here.

Thanks for coming by,
I am entering the SSS Wednesday  challenges.

Season Greetings

I know it's still a bit early... but all the new craft stash is in the shops now and as I am less interested in Halloween, I wanted to carry on the x-mas production! In fact this is the first of 2 posts published today both on the Christmas theme!

I created this design to satisfy the following objectives:

- few supplies
- low wast
- easy
- quick to make in batches


I used a green and a red 6"x6" piece of cardstock, plus some white glitter card and the dies sets shown.

To cut the large wreath, I used the actual wreath die and the "inside" edge die.
Cutting the inside allows to keep to one layer and saves the green inside to make another card in the reverse colours. There is barely any waste, apart from the confetti from the wreath which goes straight to the bin without contributing to the ever growing scrap mountain.

The greeting is cut from the thick-ish glitter card but I still managed a clean cut with 2 passes in the die-cutting machine.

Using the same design but with other colour combinations you can quickly build up a stash of cards, all unique!

For example:

- Associate Gold and white with either Green, Red or Black for traditional Christmas
- Silver and white with Blue or Lavender for a contemporary look
- or Kraft, white and red for a rustic vibe

Of course you can add any number of finishing items, but as I had the rather loud Green and Red combo it was a case of less was definitely more… so I limited the embellishments to a bow which I die-cut  (same set as the wreath) from the glitter and red card.

Supplies:

A4 Glitter Card - White
Tonic Studios Essentials Die Set - Boughs of Holly Wreath
Tonic Studios Christmas Sentiment - Seasons Greeting


Should you purchase any of the products I have used on this card, select  'Design Team'  in the 'where have you seen us' drop down so we know we have inspired you!


Don't forget I have a second X-mas design coming up very soon.

Thanks for coming by,
I am entering the SSS Wednesday challenge.