Thursday, 15 November 2018

Shaker Spinner card

For us crafters there's a time for mass production of Christmas cards and then they are one of a kind, time consuming cards designed to stand out on the mantelpiece.
Today's offering is one of those...


It has a shaker element AND a spinner element for that wow factor and the sentiment is revealed by the spinner arm when opening the card, with both outside and inside in play, there are lots of layers and lots of opportunity for embellishments...


To make the spinner mechanism I'll refer you to Karen Burniston herself and this video: https://www.youtube.com/watch?v=lhDIOvEK3k0.
The papers I used to create mats for the card blank and make all the embellishments are from Echo Park, the sentiment and small poinsettia have been stamped with the John Next Door Clear Stamp Set - Poinsettia.

The main embellishments have been stamped, embossed in gold Wow EP and die-cut with a new set by Studio Light, Studio Light Basics Clear Stamp And Die Set - No.17, which has both baubles stamps and matching dies. No fussy cutting, sigh of relief...

I wanted to emulate that shiny but "frosted" look of the baubles I remember from my childhood and applied a wash of Cosmic Shimmer Pixie Powder in White Pearl to the offcuts of Echo Park paper. With hindsight a coloured version would have produced a closer effect but it looked good anyway.

And ooh, look at the waste, could I use that as a topper or even a stencil?

I made the tree embellishment using an old technique with the Echo park paper.
I cut a half circle from double sided patterned paper - it doesn't need to be green on both sides, contrasting colours work too -  and folded 4 times alternating mountain and valley folds.

Each segment should be progressively larger and they all start at the same point about 1/3 along the straight edge.
Feel free to enhance the shape by using a scalloped, pinked or other elaborate circle die or decorative scissors.

To glue my tree together and give more dimension I used increasingly thicker foam pads for each fold.

There are also 2 foam pads on the other side.

To decorate the tree there are lots of options: create baubles with Nuvo drops or gems, garlands with glitter glue, embossing pen and powders, gel pen etc...


To make the shaker element I cut a frame from glitter card and one from cardboard instead of using dimensionals all around the frame as it is really thin. I also cut 2 pieces of acetate to sandwich my confettis.

With the glitter frame glued to the cardboard and one of acetate square,  the bottom acetate square in place, I  poured some of the confetti in the middle, before applying glue to the back of the frame and sticking over the aperture. If like me you used wet glue don't disturb the card until the glue is totally dry, otherwise some of the confetti will get stuck!

Supplies:
Echo Park Christmas Gingham 6" x 6" Paper Pad
Studio Light Basics Clear Stamp And Die Set - No.17
Karen Burniston Spinner Square Pop-Up Die Set
John Next Door Clear Stamp Set - Poinsettia
Tonic Studios Nuvo Confetti - Desert Sunset Stars
Cosmic Shimmer Pixie Powder - White Pearl
JEJE Double Sided Foam Squares - 1mm
JEJE Double Sided Foam Squares - 2mm
JEJE Double Sided Foam Squares - 3mm
WOW! Embossing Powder - Metallic Gold Rich

You were warned, quite a lot involved... but you can take from this anything you like!

I will leave you with a last photo of the card, opened flat:


Should you purchase any of the products I have used on this card, select  'Design Team'  in the 'where have you seen us' drop down so we know we have inspired you!


Thanks for coming by,
I am entering the Addicted to Stamps, Allsorts, Stamping Sensations, Vintage Journey, SSS Wednesday and Crafty Cardmakers challenges.

Monday, 5 November 2018

ATC Coins - Serious Birds

For my second inspiration piece for the Country View Challenge on the theme of AT Coins, chosen by Debs, I have chosen to keep with the bird them. If you missed the first set, my "funny" birds you can find them here).
I find my "serious" birds equally funny and I hope they will make you smile too!


For my background I used a Gelli Printed tissue paper made with Paper Artsy Fresco paints and the Random Circles stencil by Tando Creative. Tissue paper is great with Gelli printing because being thin the paper can be pressed to pick all the paint up off the Gelli plate and it acquires a sturdiness in the process that renders it easier to use in projects.

The birds are from the Lost Coast Designs Big Anthropomorph Birds set and have been stamped with black Memento ink.

Unused as I am to this small size, I quite like the result and the AT Coins were, after a long time spent scratching my  head, very quick to make.

Thanks for coming by,
I am entering the Paper Artsy,  SSS Wednesday, Penny Black and more and Craft Stamper TIMI challenges.

Friday, 2 November 2018

Thankful

Welcome to a new Stamplorations Theme & Sketch Challenge! Our theme and sketch are:
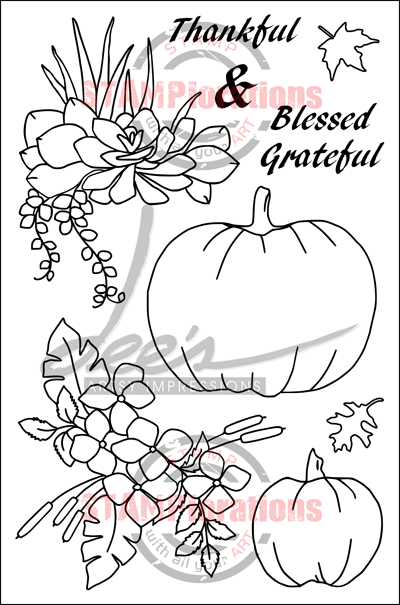
For my card I used the sketch only and since our US crafters prepare for Thanksgiving, I thought I would use the Thankful & Blessed in their honour.


I created a panel with Prima Blooms sprays and stamped one of the flower clusters with Memento Fog grey, which I coloured with watercolour pencils and a water brush. The sentiment stamped with black Versafine is from the same set.

I die-cut the panel with my ever useful Crazy Double Running Stitch Rectangle Nesting Dies  and layered it on a piece of printed vellum.

You'll find more inspiration from my teamies  along with the linky for your entries to the challenge on the STAMPlorations blog and all the prize details... did I mention there are prizes?!! All the more reasons to play with us!

Whenever you shop for STAMPlorations products you can get 20% off with my code: STAMPGIRLCRAFTY

Thanks for coming by,
I am entering the Addicted to stamps and SSS Wednesday challenges.


Thursday, 1 November 2018

ATC Coins - Funny birds

Welcome to my first inspiration piece for our Country View Challenge hosted by the lovely Debs. She has chosen Artist Trading Coins as the theme (AT Coins are 2.5" diameter circles).


I used a piece of paper I had used with Prima Bloom sprays and the Tando Creative Leaves masks for my background.

The small birds are from the Birds of Paradise STAMPlorations stamp set and the cute ostrich head is from Katzelkraft (Ostrich - SOLO088). I coloured all the images with water based pens.

To take the photo I placed the ATCs on a piece of card I coloured with Distress Oxide inks applied in overlapping streaks. I thought it funny the way the Birds of Paradise are looking up at the Ostrich, either with envy or alarm!

Now it's over to you and I can't wait to see what you make... Remember that if you enter our Country View Challenge, you could win a £20 voucher to spend on new crafty supplies, so don't wait up!

Thanks for coming by,
I am entering the Addicted to Stamps, and SSS Wednesday challenges.

Friday, 19 October 2018

Born to roam

I am back with a bonus piece for the Stamplorations Theme & Sketch challenge. If you missed my first post, the theme and sketch are:


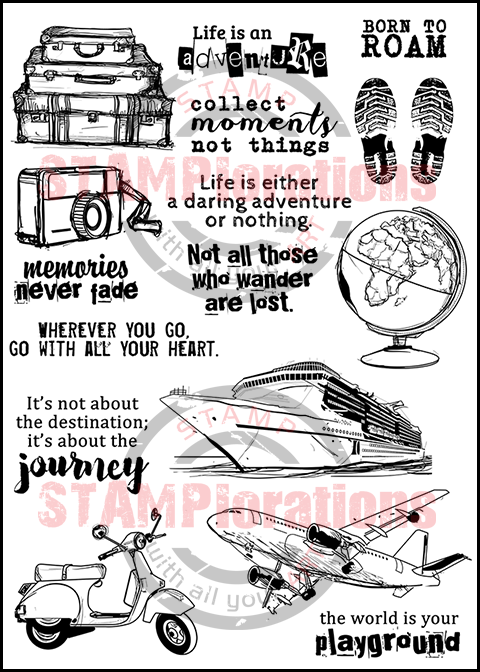
I made a tag following the sketch only, using the Born to Roam stamp set.

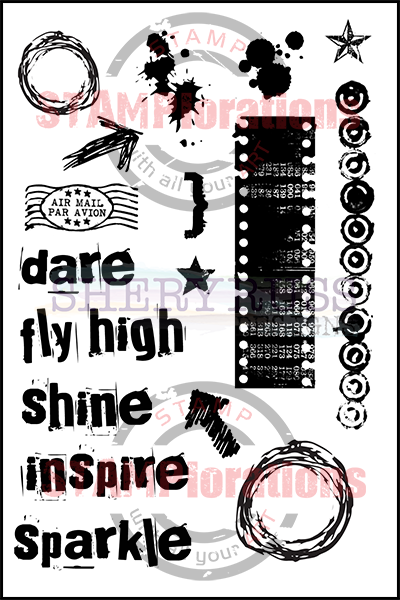
First I applied Distress inks in Scattered straw, Carved Pumpkin and Red Brick to a manilla tag and sprayed some water over the Retro Circles stencil. For added interest in the background I stamped, with the same colours of Distress inks, motifs from the Art Marks stamp set.

Then I simply stamped the footprints along the curve of the sketch, the globe and a sentiment from the Born to Roam stamp set in black ink. A bit of liquid glass on the globe, a doodled border and some twine finish the tag.

Come by the Stamplorations blog for more inspiration for this month's challenge from the Design Team.

Whenever you shop for STAMPlorations products you can get 20% off with my code: STAMPGIRLCRAFTY

Thanks for coming by,
I am entering the Unikostudio and Stamping Sensations challenges.


Thursday, 18 October 2018

Rainbow and butterflies

Join us today on the  STAMPlorations blog  for a tribute to Melissa Lane, who sadly passed away and is leaving a big hole in her family and all who knew her, including our Crafting community.

She loved butterflies and if you'd like to contribute, whether you knew Melissa in real life or just online, you will be able to add your butterfly makes on the blog.


Monday, 15 October 2018

Embossing and watercolours

This month the Craft U Love Design Team has been given the same stamp set to work with, one of the new stamp sets designed by Julie Hickey, Garden Treasures. It will be exciting to compare how different or similar our take will be...


I meant to take photos as I went along but as I used a wet-on-wet watercolour technique, it wasn't possible.

My first step was to stamp and emboss in white some of the flowers and leaves, I am enclosing this photo so you can see the stamp set but alas the embossing is not visible!

The next picture show the card as I just finished applying the colours, still wet and a bit shiny from the water.


Eagled eye crafters will notice the finished panel is different because I decided to do it again as the sentiment wasn't standing out well enough after drying.

To paint the background I first applied water all over and with a brush loaded with a strong mix touched the areas on and around the embossing. If the paint dries too quickly, a spritz or two of fine mist helps to keep it workable and it is possible to push the pigment to your liking.

Of course the same technique can be used with powders, acrylic inks or paints each giving a slightly different look.


Supplies:
Julie Hickey Designs Stamp Set - Garden Treasures
WaterArt Watercolour A6 Paper Pack
Tonic Studios Nuvo Light Mist Spray Bottles

My teamies makes will be shown on Facebook here during the day.
Should you purchase any of the products I have used on this card, select  'Design Team'  in the 'where have you seen us' drop down so we know we have inspired you!

Thanks for coming by,

Saturday, 13 October 2018

Mini scrapbook album

I have a photo heavy post for you today, showing a mini album created with a single 12x12 sheet of designer paper which doubles up as a (special) Birthday card.

The front cover is stamped with an image from the Art Nouveau Silhouettes stamp set from Flonzcraft and I added a title with die-cut letters to which I applied gilding flakes.

On the first page I placed some photos and added stamped motifs (Katzelkraft, Prima and more).
Page 2 feature stamps from the Sew Sweet Stamp Set by Rubber Dance and an embossed corner with some Stampendous Frantage powder (the stamp is a CAC by Impression Obsession)
On page 3 more Rubber Dance stamps from the Retro Beach set, some embossed in Wow Vanilla powder
Page 4 uses stamps from Katzelkraft Paris Monuments and Paris Notre Dame sets.

Finally the back cover is adorned with another silhouette from the Art Nouveau Silhouettes stamp set from Flonzcraft.

Pure stamping pleasure and a lot of ink, although the background is patterned paper. To read up on how to make these types of book , you can look here for a tutorial. This has to be one of the easiest album to make, as it only need a few folds and one cut! Since this paper was single sided I added a cover from another piece of paper and a spine too. The construction allows for pockets if you want and I placed a tag in mine, bearing my birthday message for the recipient.

Thanks for coming by,

Sunday, 7 October 2018

Plant life

Welcome to my second inspiration post for our Country View Challenge, hosted by teamie Rachel on the theme "Plant-astic".
For this one I played with powders, it's always fun if unpredictable...


Friday, 5 October 2018

Monday, 1 October 2018